How to Connect NetSuite to Bookkeep
To connect Bookkeep to NetSuite to enable syncing your financial data daily, this will involve setting up Token-Based Authentication (TBA) which we will step through below. One thing to note is that all of the steps below require a NetSuite administrator to complete the setup.
At the end of the setup, Bookkeep will require 5 fields to complete the NetSuite connection which we will walk through below:
- Account ID
- Consumer Key
- Consumer Secret
- Token ID
- Token Secret
Please read on for information on how to generate these keys.
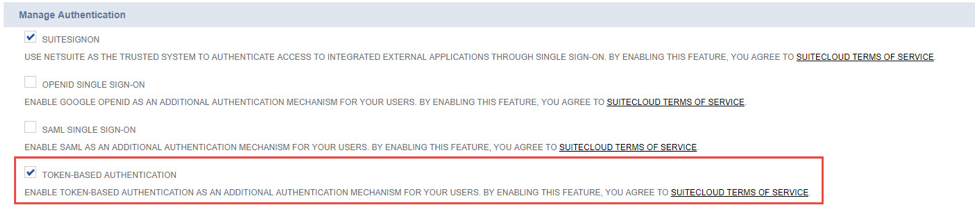
Step 1: Enable Token-Based Authentication in your NetSuite environment by browsing to “Setup > Company > Enable Features” and clicking the “SuiteCloud” subtab. Here, scroll down to the “Manage Authentication” section and check the box next to “TOKEN-BASED AUTHENTICATION” and save.
Step 2: Enable SOAP web services in your NetSuite environment by browsing to “Setup > Company > Enable Features” and clicking the “SuiteCloud” subtab. Here, scroll down to “SuiteTalk (Web Services)” and check the box next to “SOAP Web Services" and save.
Step 3: Create Role with necessary permissions iin your NetSuite environment by browsing to "Setup > Users/Roles > Manage Roles > New" with an identifiable name, such as “bookkeep_soap”. As we cannot create a Token for an Administrator role, a new role will need to be created with the following permissions.

Under Permissions > Transactions:
- Add Make Journal Entry with level FULL
- Add Find Transaction with level FULL
- Add Invoice with level FULL
- Add Sales Order with level FULL

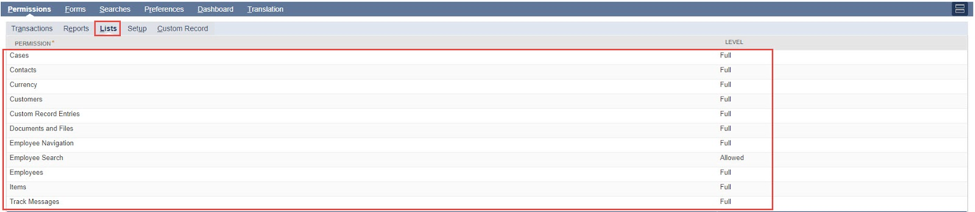
Under Permissions > Lists:
- Add Accounts with level FULL
- Add Contacts with level FULL
- Add Currency with level FULL
- Add Customers with level FULL
- Add Custom Record Entries with level FULL
- Add Documents and Files with level FULL
- Add Items with level FULL
- Add Tax Records with level Full
- Add Subsidiaries with level VIEW
- Add Classes with level VIEW
- Add Departments with level VIEW
- Add Locations with level VIEW
- Add Vendors with level VIEW
Under Permissions > Setup:
- Add Access Token Management with level FULL
- Add SOAP Web Services with level FULL
- Add User Access Tokens with level FULL

Now save this record.
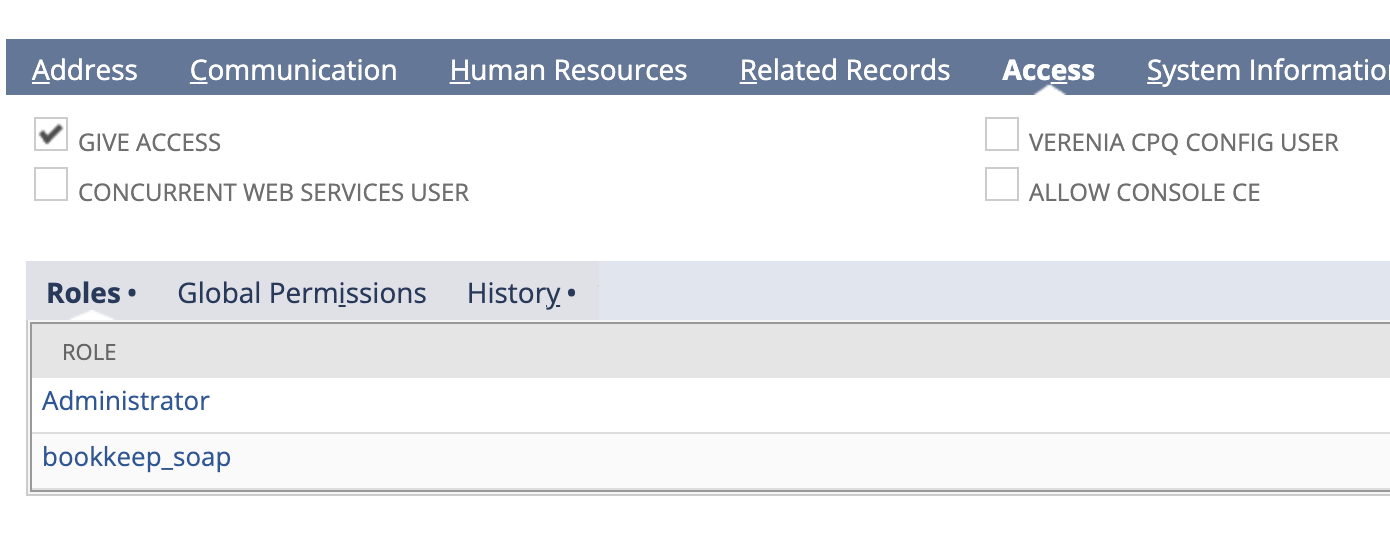
Step 4: Assign this new role to an Employee by finding the employee in the list after visiting “Setup > Users/Roles > Manage Users.” Once the employee is located, you will edit the Employee Record by navigating to the Access > Roles Subtab:
In the Role field, select the token-based authentication role created above (which we called bookkeep_soap) for this user.Click Add.Once completed, save the changes to the Employee Record.
(Administrator)
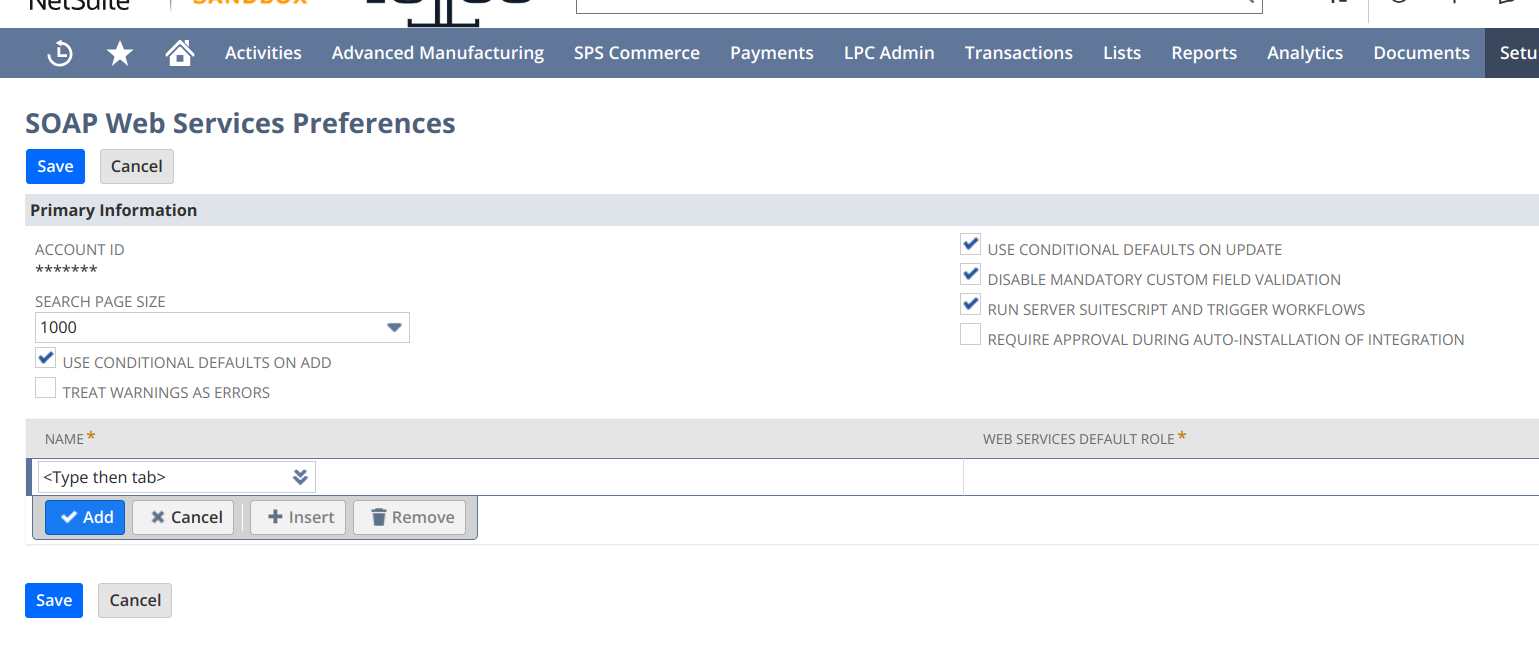
Step 5: Retrieve Account ID by navigating to "Setup > Integration > SOAP Web Services Preferences". You’ll see the following screen containing the Account Number (also called the Account ID). Copy this into a document for later as it will be needed in Bookkeep once we have all 5 items:
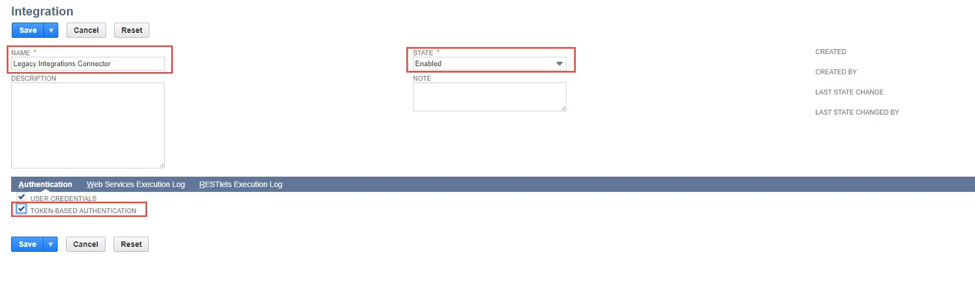
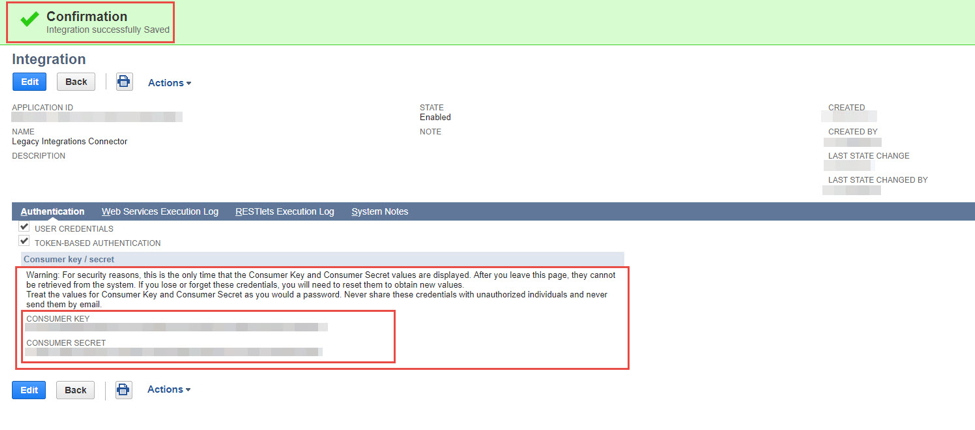
Step 6: Generate Consumer Key and Consumer Secret by browsing to "Setup > Integration > Manage Integrations > New". Here, give the Integration a name. For this example, we’ve named it “Bookkeep Soap Integration”. Be sure to set the State as “Enabled”, if it isn’t already, and check the box under the Authentication Subtab next to “TOKEN-BASED AUTHENTICATION”. Finally, click the “Save” button to generate your tokens. Disable Oauth if it already enabled.
Once you click “Save,” you will be taken to a confirmation page that displays your “CONSUMER KEY” and “CONSUMER SECRET”.
Be sure to carefully copy and paste the CONSUMER KEY and CONSUMER SECRET into a secure document. You will need these values on hand to Create or Modify your NetSuite Connection in Bookkeep. If these tokens are lost, you will need to generate a new set of tokens to use. This is the first set of tokens to generate. Double check that you have copied and pasted them into a document correctly.

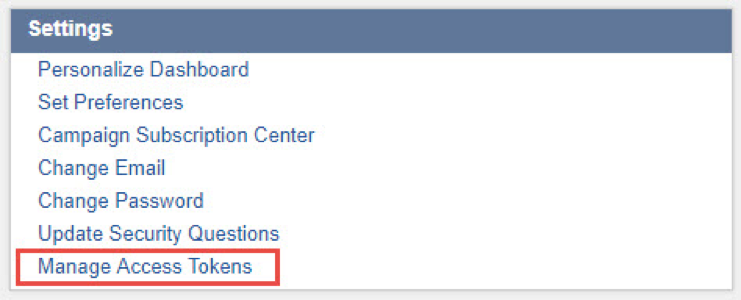
Step 7: Generate Token ID and Token Secret by clicking on “Manage Access Tokens” in the Settings which should be visible on the home page.
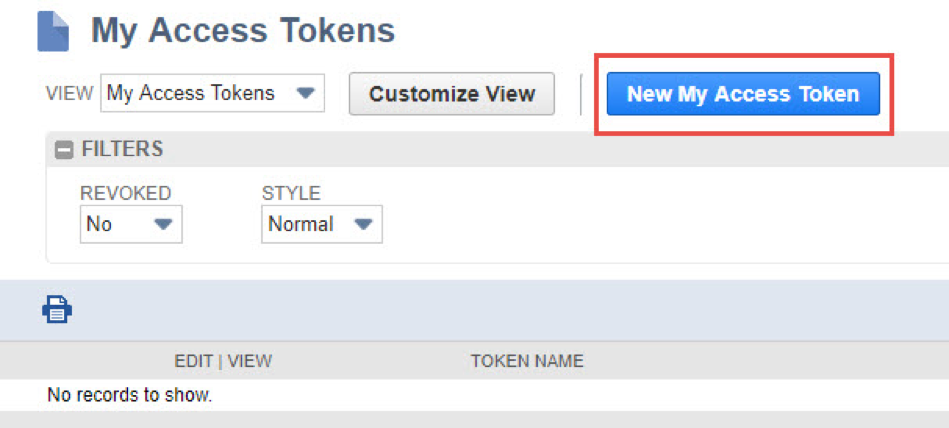
Click “New My Access Token”.
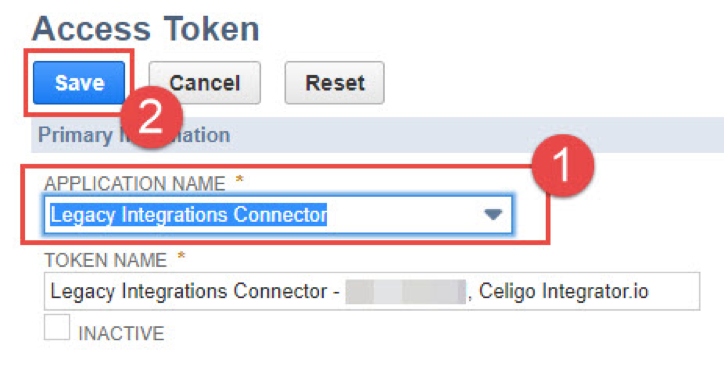
Under “Application Name”, select the name of the Integration you created in the previous steps (e.g. “Bookkeep Soap Integration”) then click “Save”. Note that the “Token Name” field will auto-populate. You can change this if you wish.
Step 16: When you click “Save” in the previous step, you will then be taken to a confirmation screen.
Be sure to carefully copy and paste the TOKEN ID and TOKEN SECRET into a secure document. You will need these values on hand to Create or Modify your NetSuite Connection in Bookkeep. If these tokens are lost, you will need to generate a new set of tokens to use.
Now that you have all 5 items saved into a document, you’re ready to plug them into the Bookkeep.
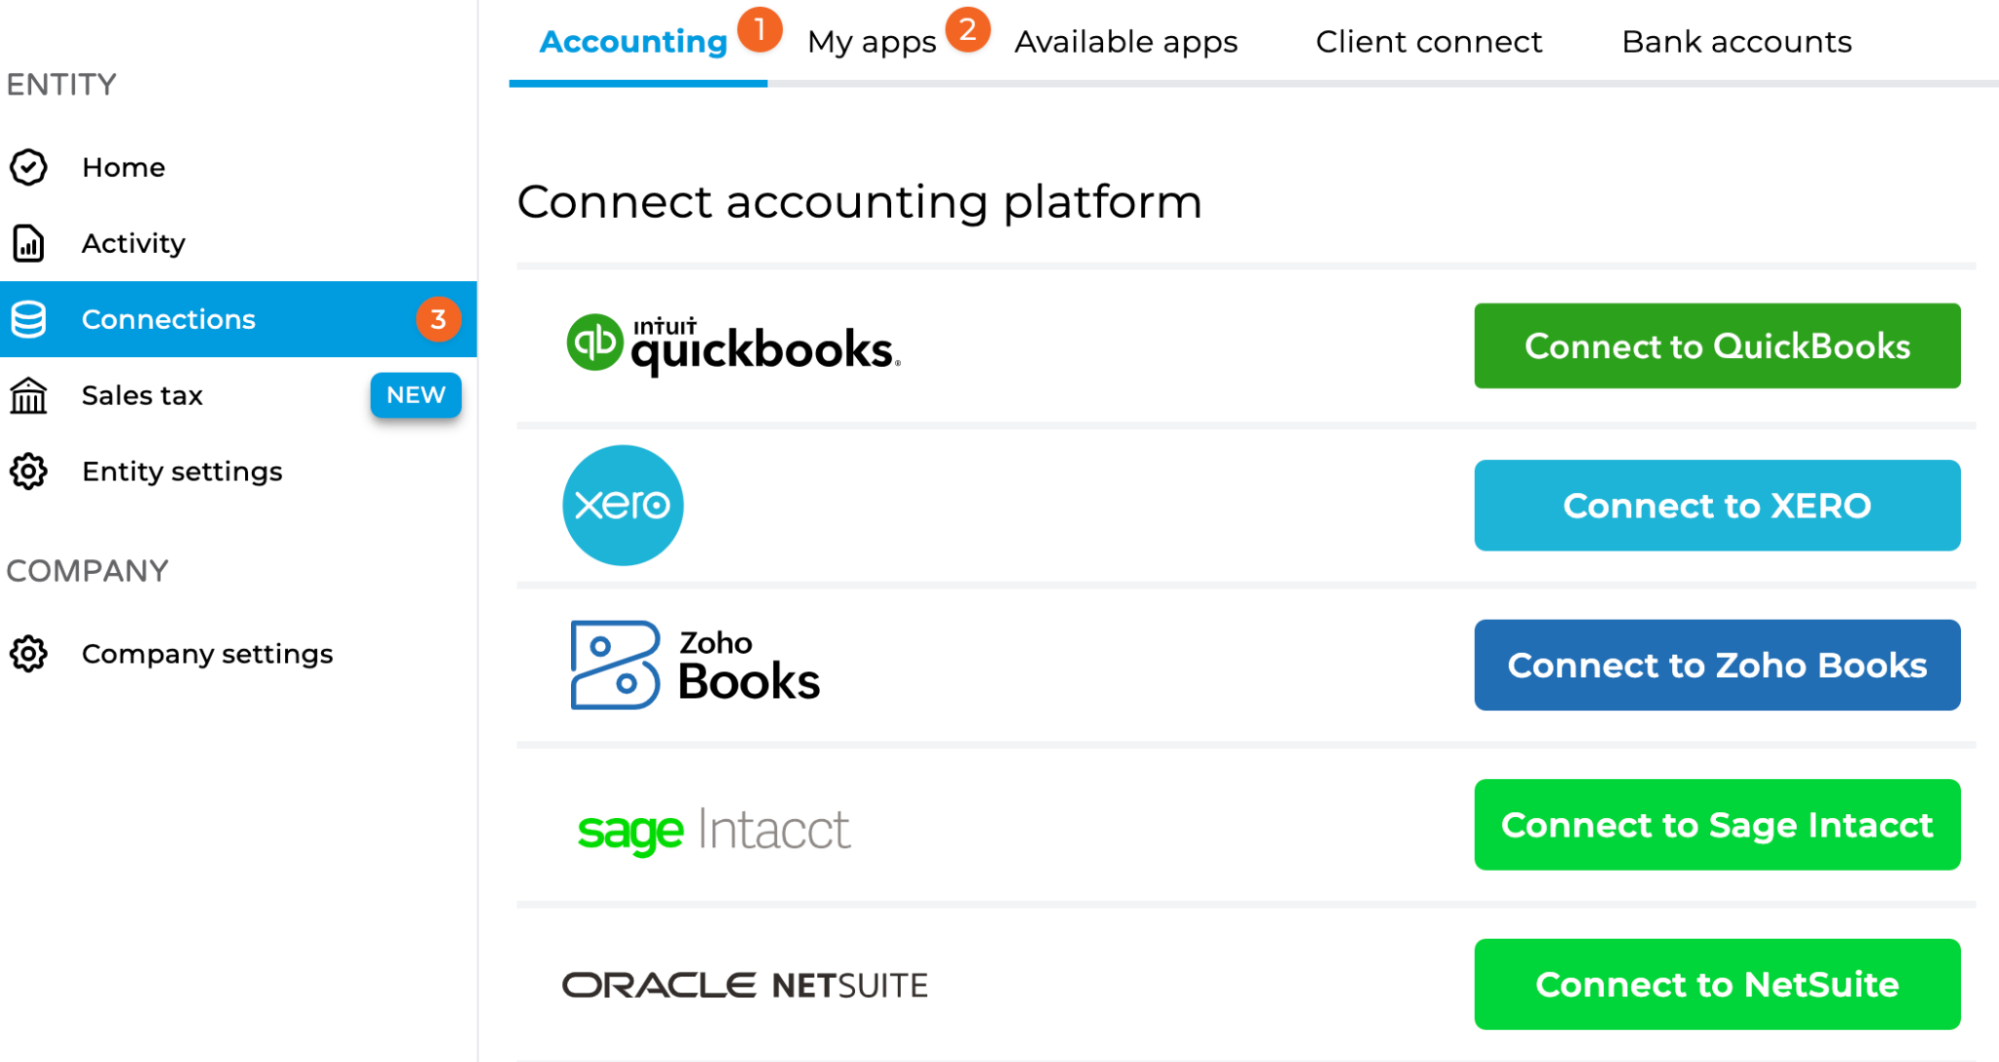
Step 17: In Bookkeep on the Connections > Accounting tab, choose “Connect to NetSuite” which will open a new window:
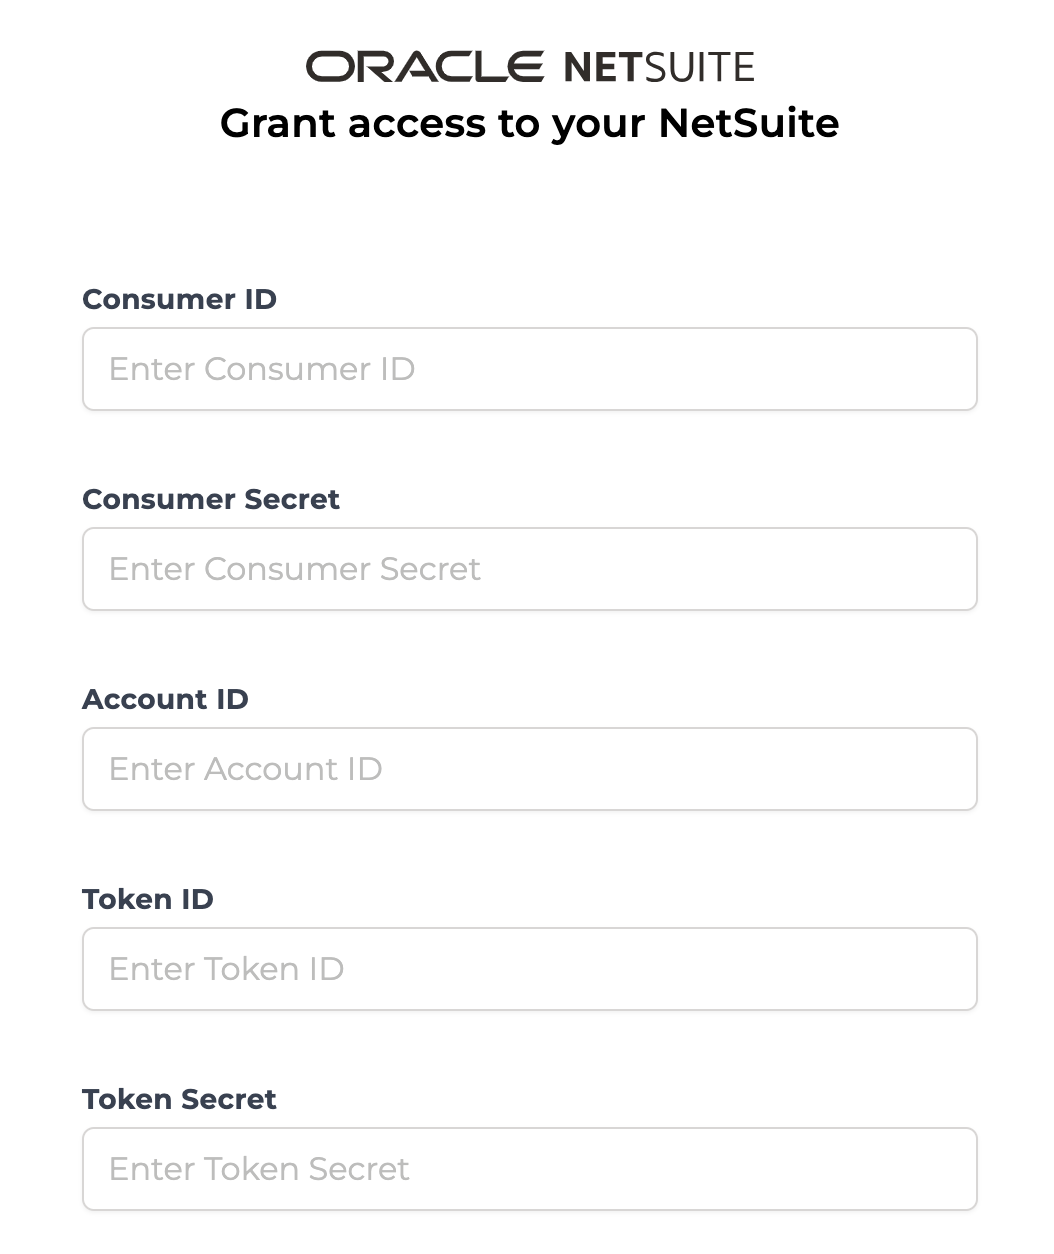
Step 18: Fill in the Account ID, Consumer Key, Consumer Secret, Token ID, and Token Secret with the values you generated in the previous steps.
Step 19: Once you click Save, you can click the “Test” button to test the connection and to double-check that the values have been copied to the correct fields.
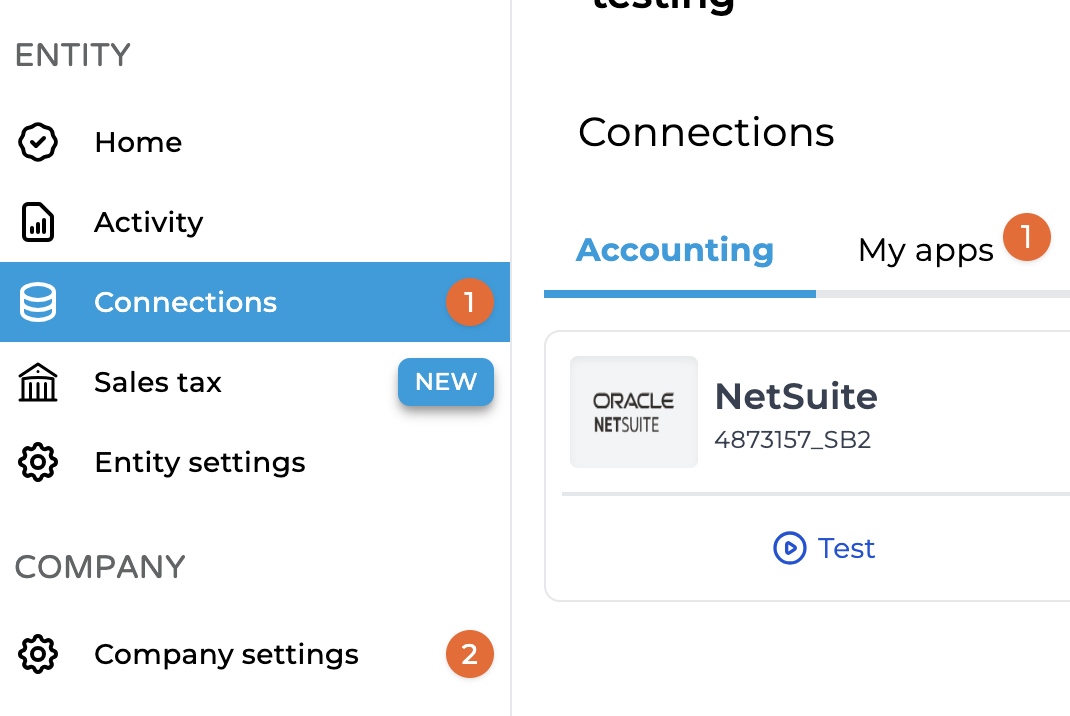
If everything was done correctly, you should get a “NetSuite connection test successful” message.

Your NetSuite connection will now be using Token-Based Authentication.
Please contact support@bookkeep.com if you have any questions.