How to Connect Sage Intacct to Bookkeep
In order for Bookkeep to sync financial data to your Sage Intacct company, we need to set up a Web Services User Role and Web Services User as well as gather information from Sage Intacct including your Company ID. This setup will allow you to sync your eCommerce and POS apps to Sage Intacct using Bookkeep’s sender ID.
In order to enable the Web Services Subscription: log in to Sage Intacct with administrator credentials. Navigate to Company > Admin > Subscriptions. Find the Web Services application and click to subscribe or ensure it is toggled to "On".
Create Web Services Role
- Go to Applications -> Company -> Admin -> Roles
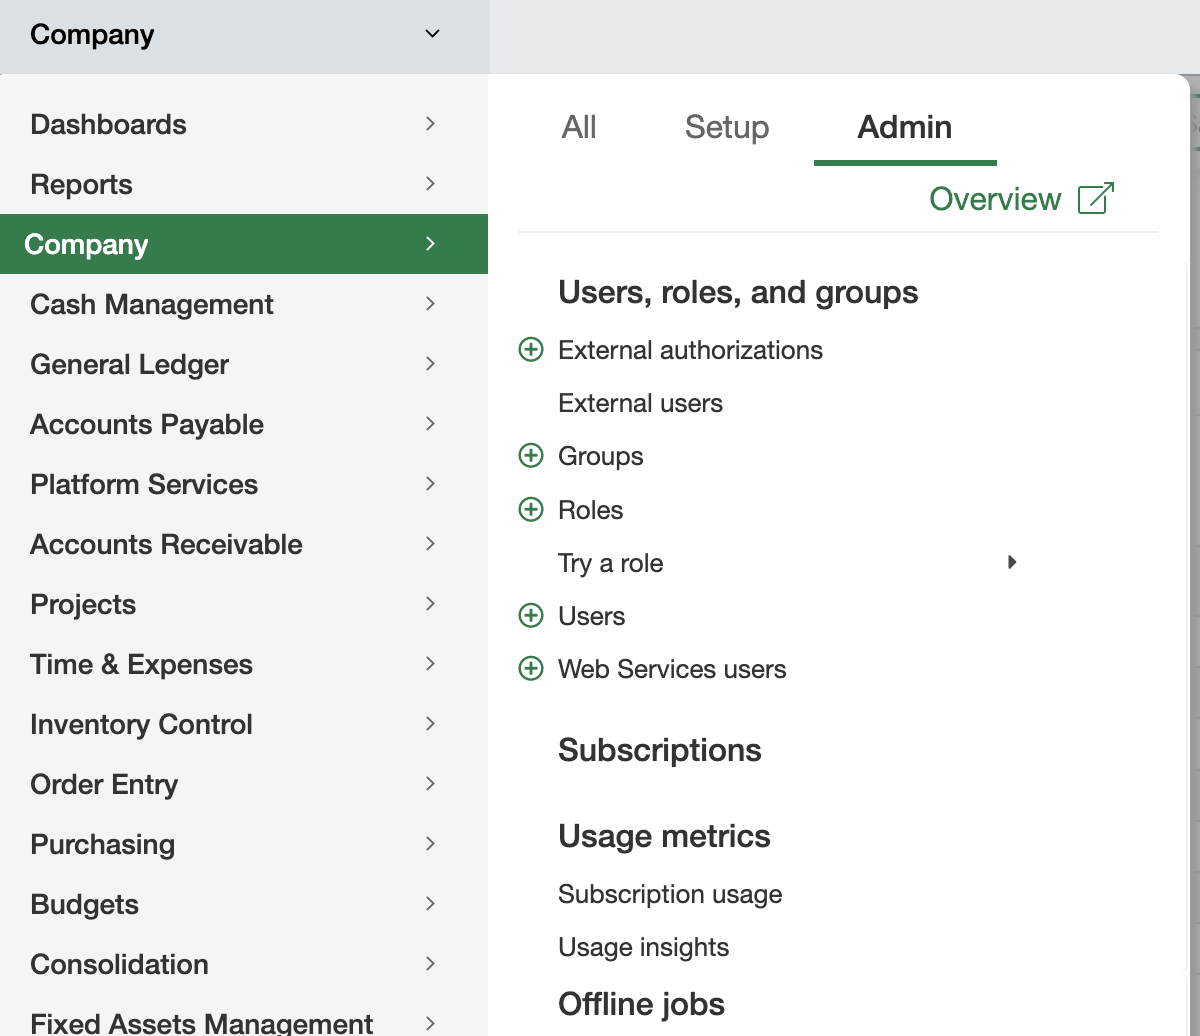
-
Click the [Add] button shown at the top right.
-
Fill in the values as shown below and click [Save ]
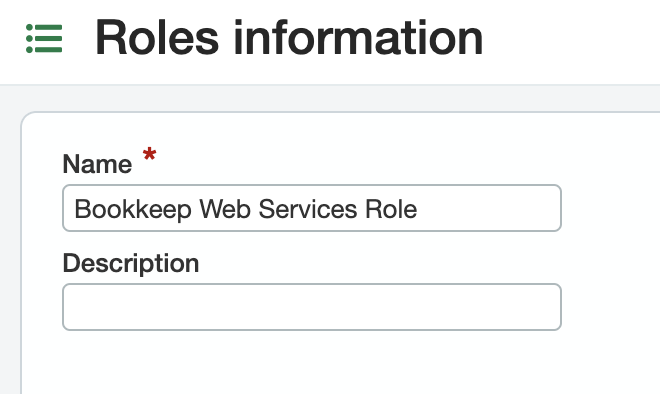
-
Once you complete the above, you will need to choose the Role subscriptions and associated Permissions.
-
Click on each of the Permissions links in each row (shown on the right in each row) except for the Administration row and choose [All] and click [Save]

When you click Permissions in each row, a new window will appear as shown below. This is where you select “All” and then click “Save.” You will need to repeat this process for each row except for the Administration row.
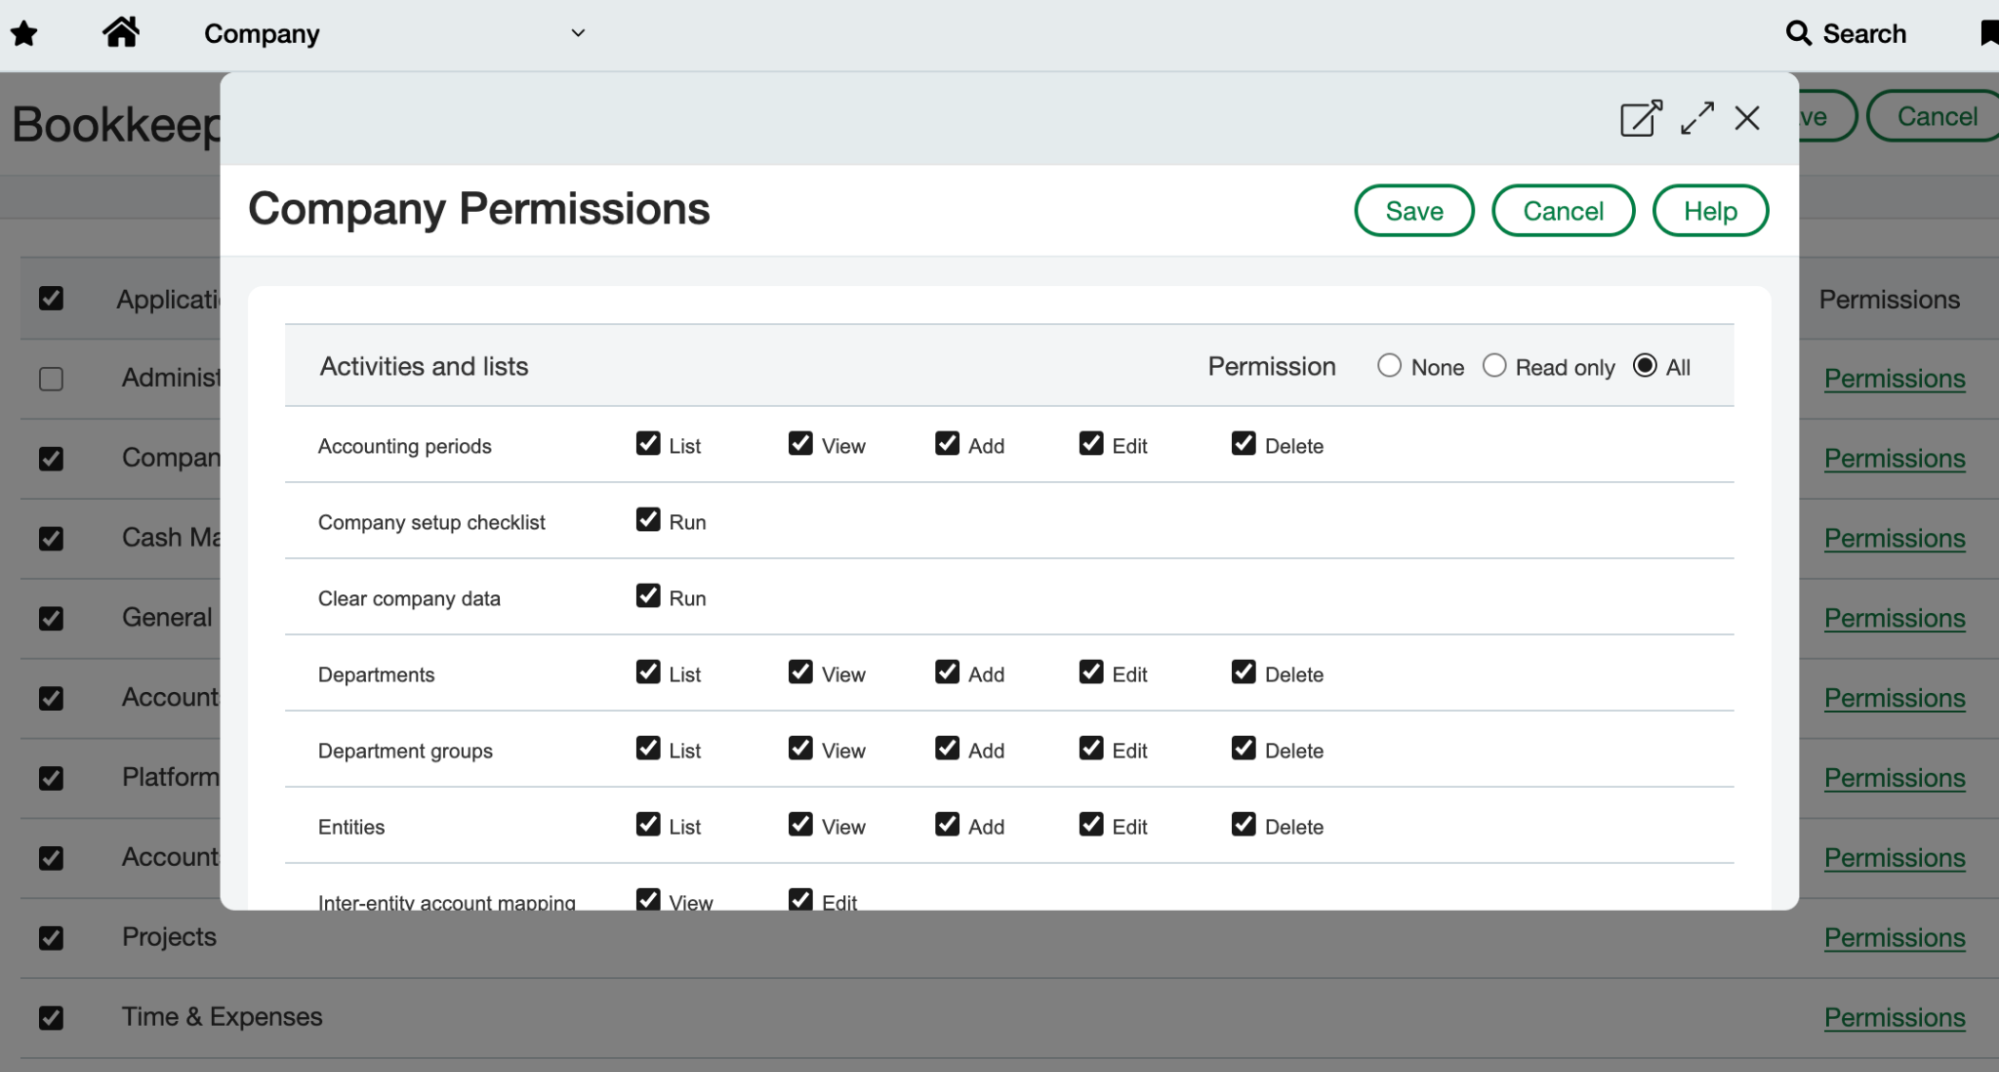
- You will now see the “Bookkeep Web Services Role” you created in the Roles section as shown below:

Create the Web Services User
- Go to Applications -> Company -> Admin -> Web Services users as shown below:
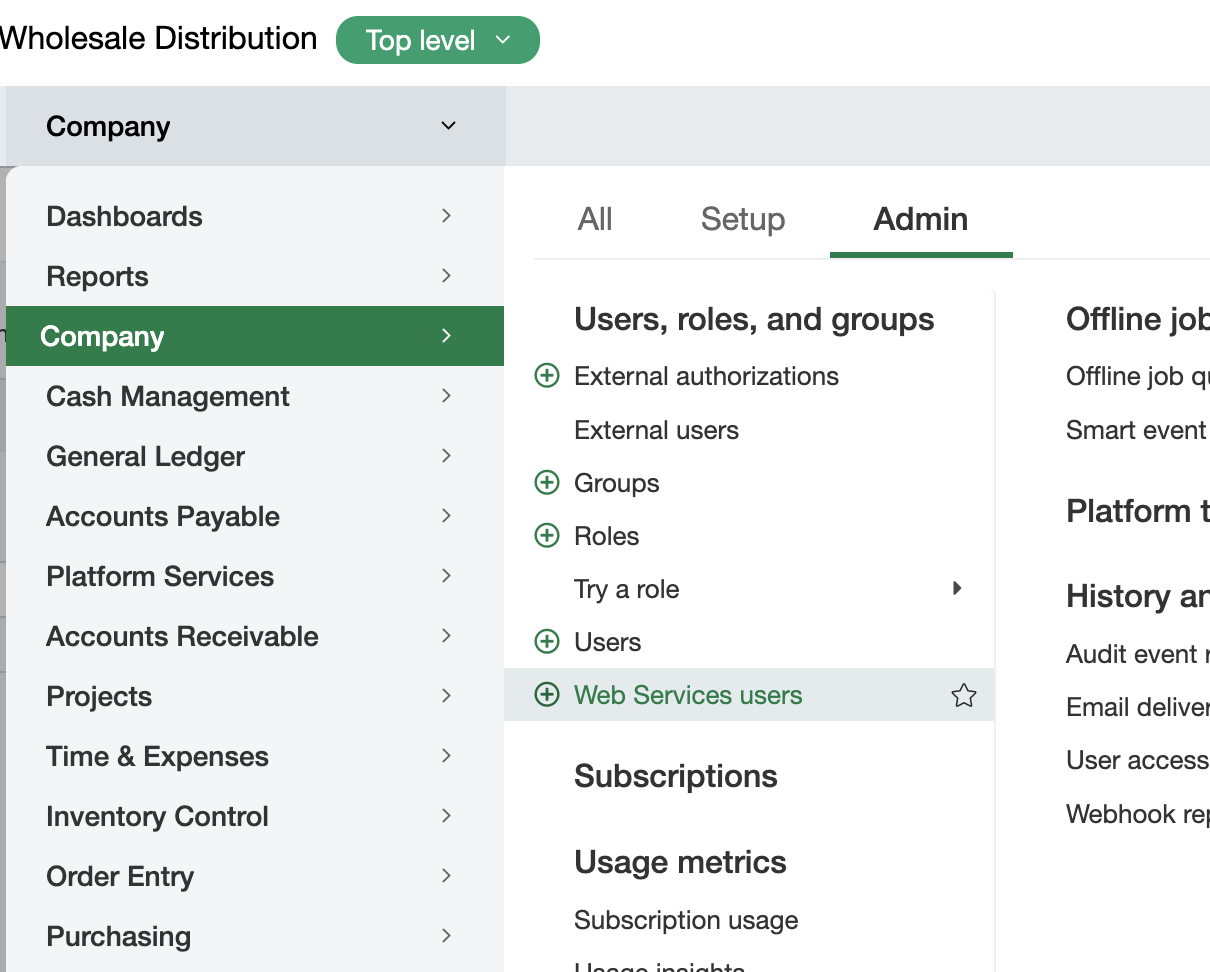
- Click the [Add] button at the top right as shown below:

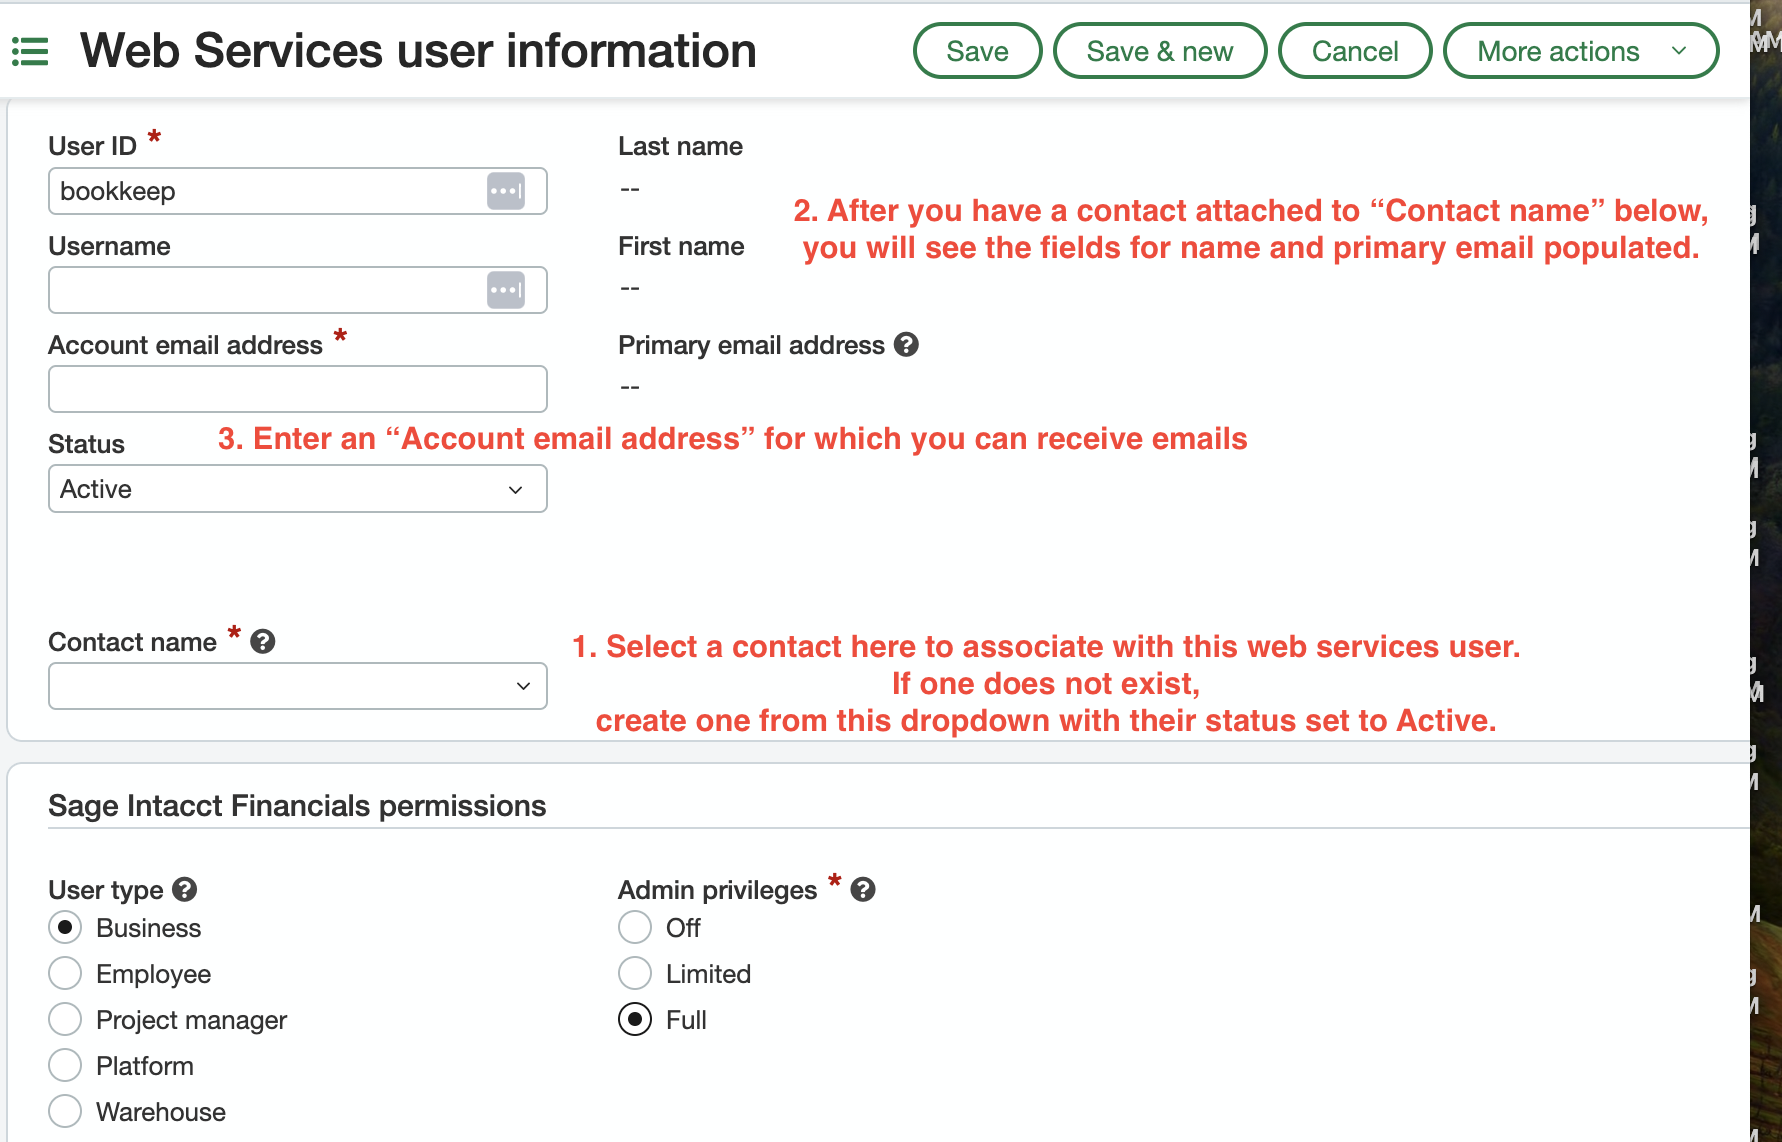
- Enter the values pictured below under User Information and click [Save].
- Make sure to use an email address that you have access to since this email will receive the password needed to connect Sage Intacct to Bookkeep.
- Under the “Contact Name” field if you do not have a contact created, you will need to add a new contact to be linked to the web services user.
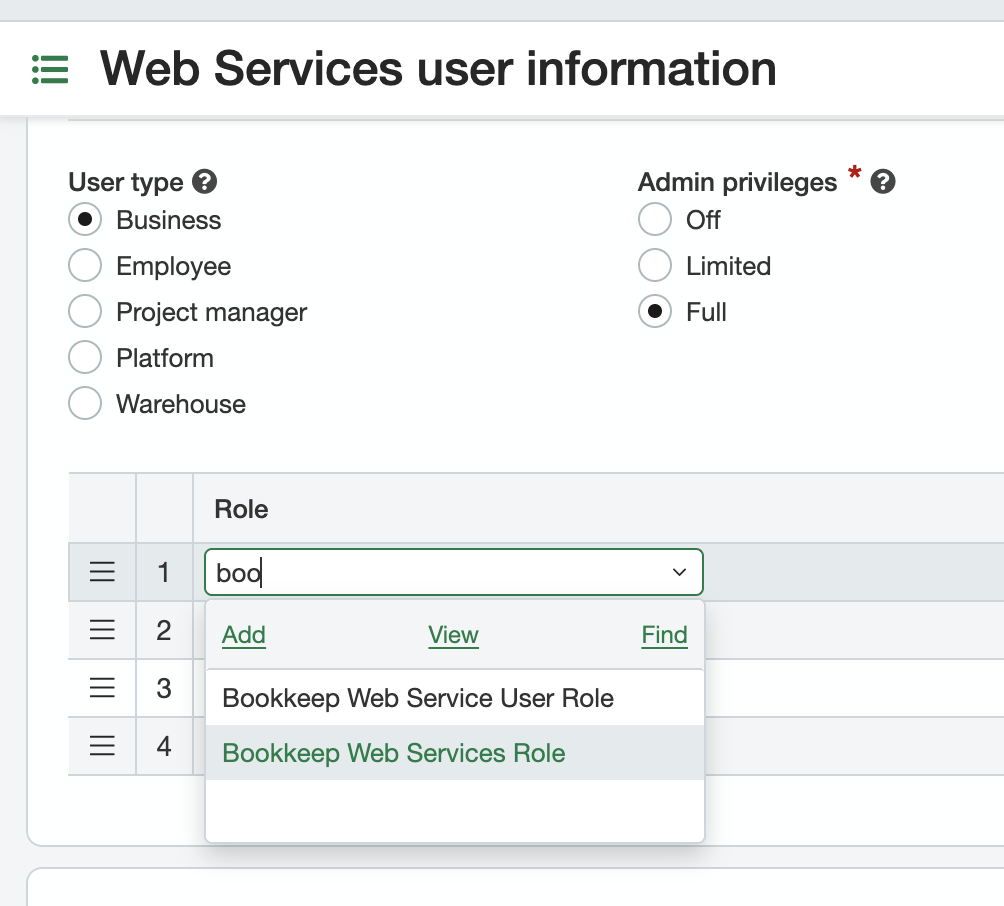
- Be sure to set the User type as Business as well as the Admin privileges to Full.
NOTE: The user ID entered below is one of the fields needed to connect Sage Intacct to Bookkeep so please take note of what is entered here.
- At the bottom of the page, you will see a Role section where you will select the “Bookkeep Web Services Role” we created above to link it to this web services user:
The password associated with the web services user you created above will be emailed by Sage Intacct to the email you entered when creating your web services user. This password is needed to connect Sage Intacct to Bookkeep.
Register the Bookkeep Sender ID with Sage Intacct
- Navigate to Applications -> Company -> Setup -> Company as shown below.
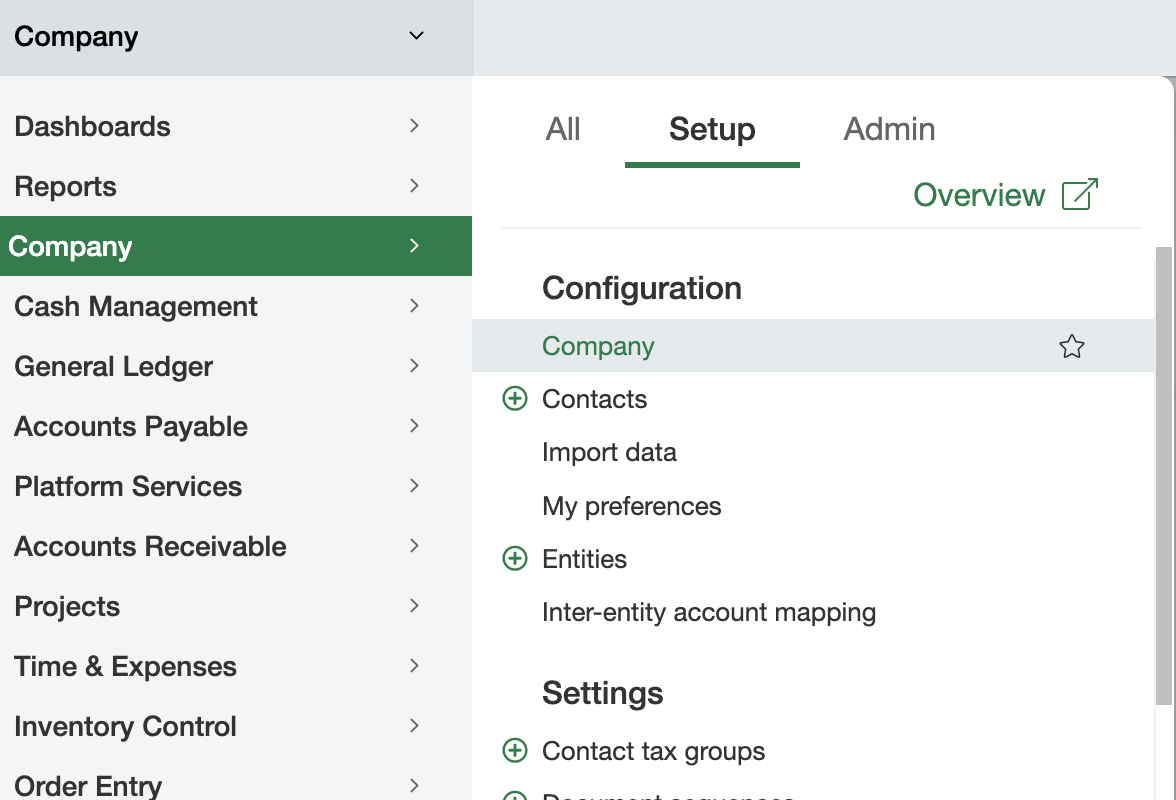
- Click [Edit] in the top right and then click on the [Security] tab.

- Scroll down to the [Web Services authorizations] section and click [Add]:
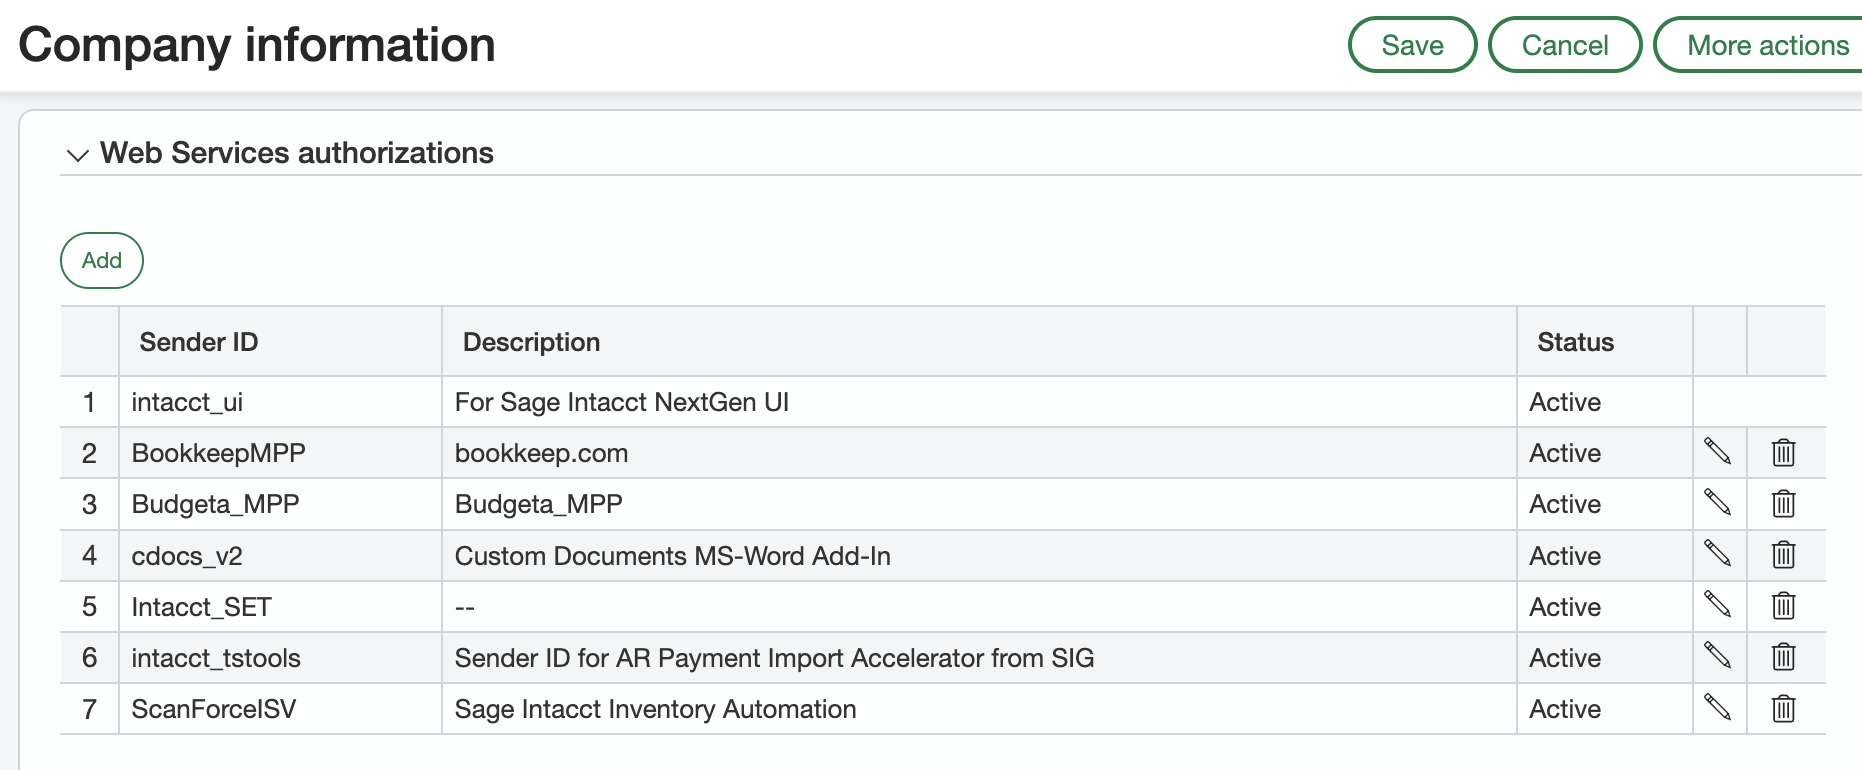
- Enter the information shown below and click [Save]. The Bookkeep sender ID is BookkeepMPP.
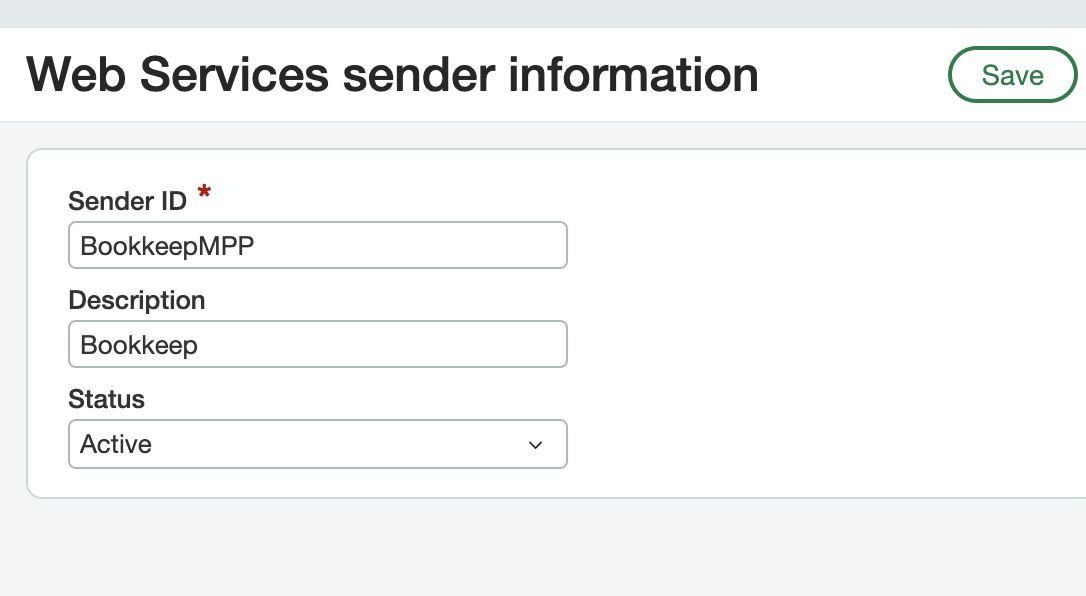
- Now the Bookkeep sender ID will be listed as shown below. You will need to click “Save” again in the top right corner to finalize this information.

Obtain your Sage Intacct company ID
- Navigate to Applications -> Company -> Setup -> Company as shown below.
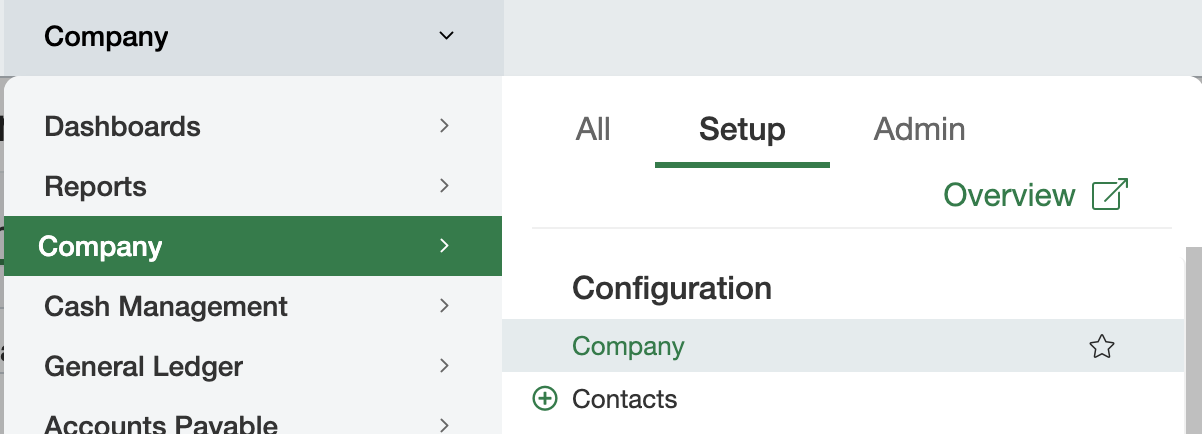
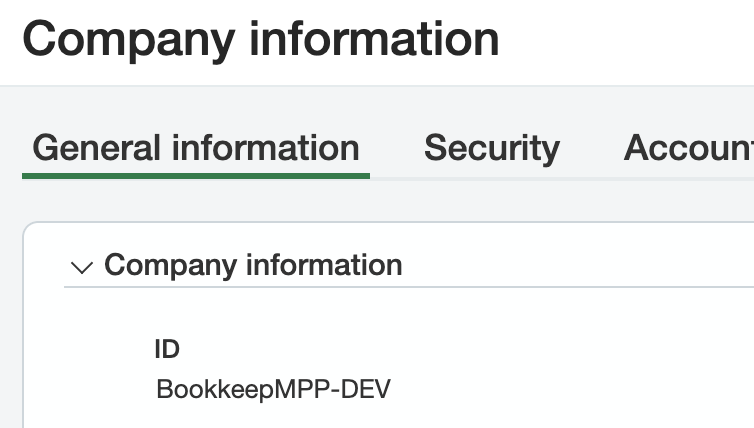
- Under the General Information tab, you will see your “ID” which represents your company ID which will be needed in Bookkeep:
Create Sage Intacct connection in Bookkeep
- You should now have the user ID, company ID, and the password which was emailed to your email address for the web services user. These 3 items will be needed to connect Sage Intacct to Bookkeep as shown below:
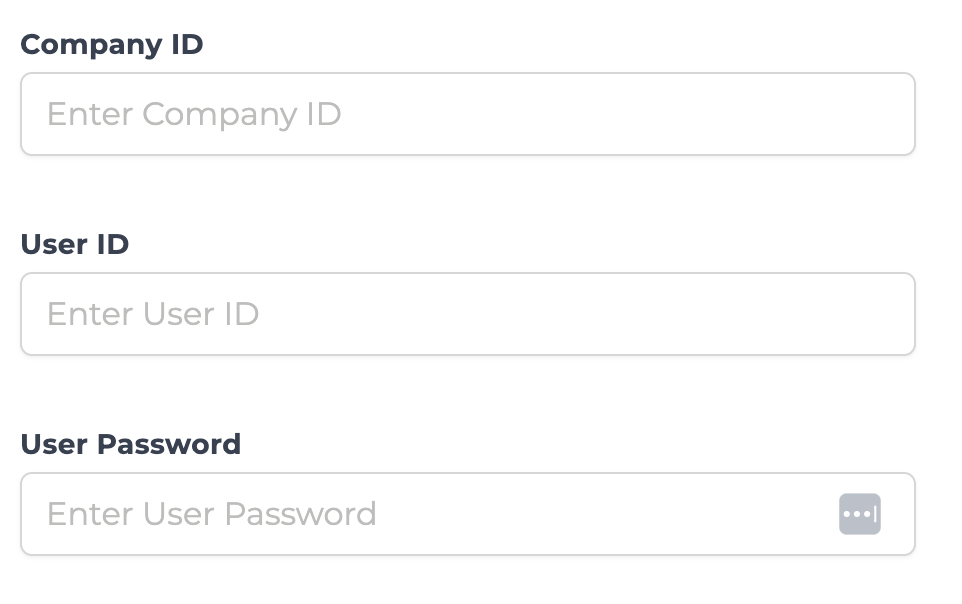
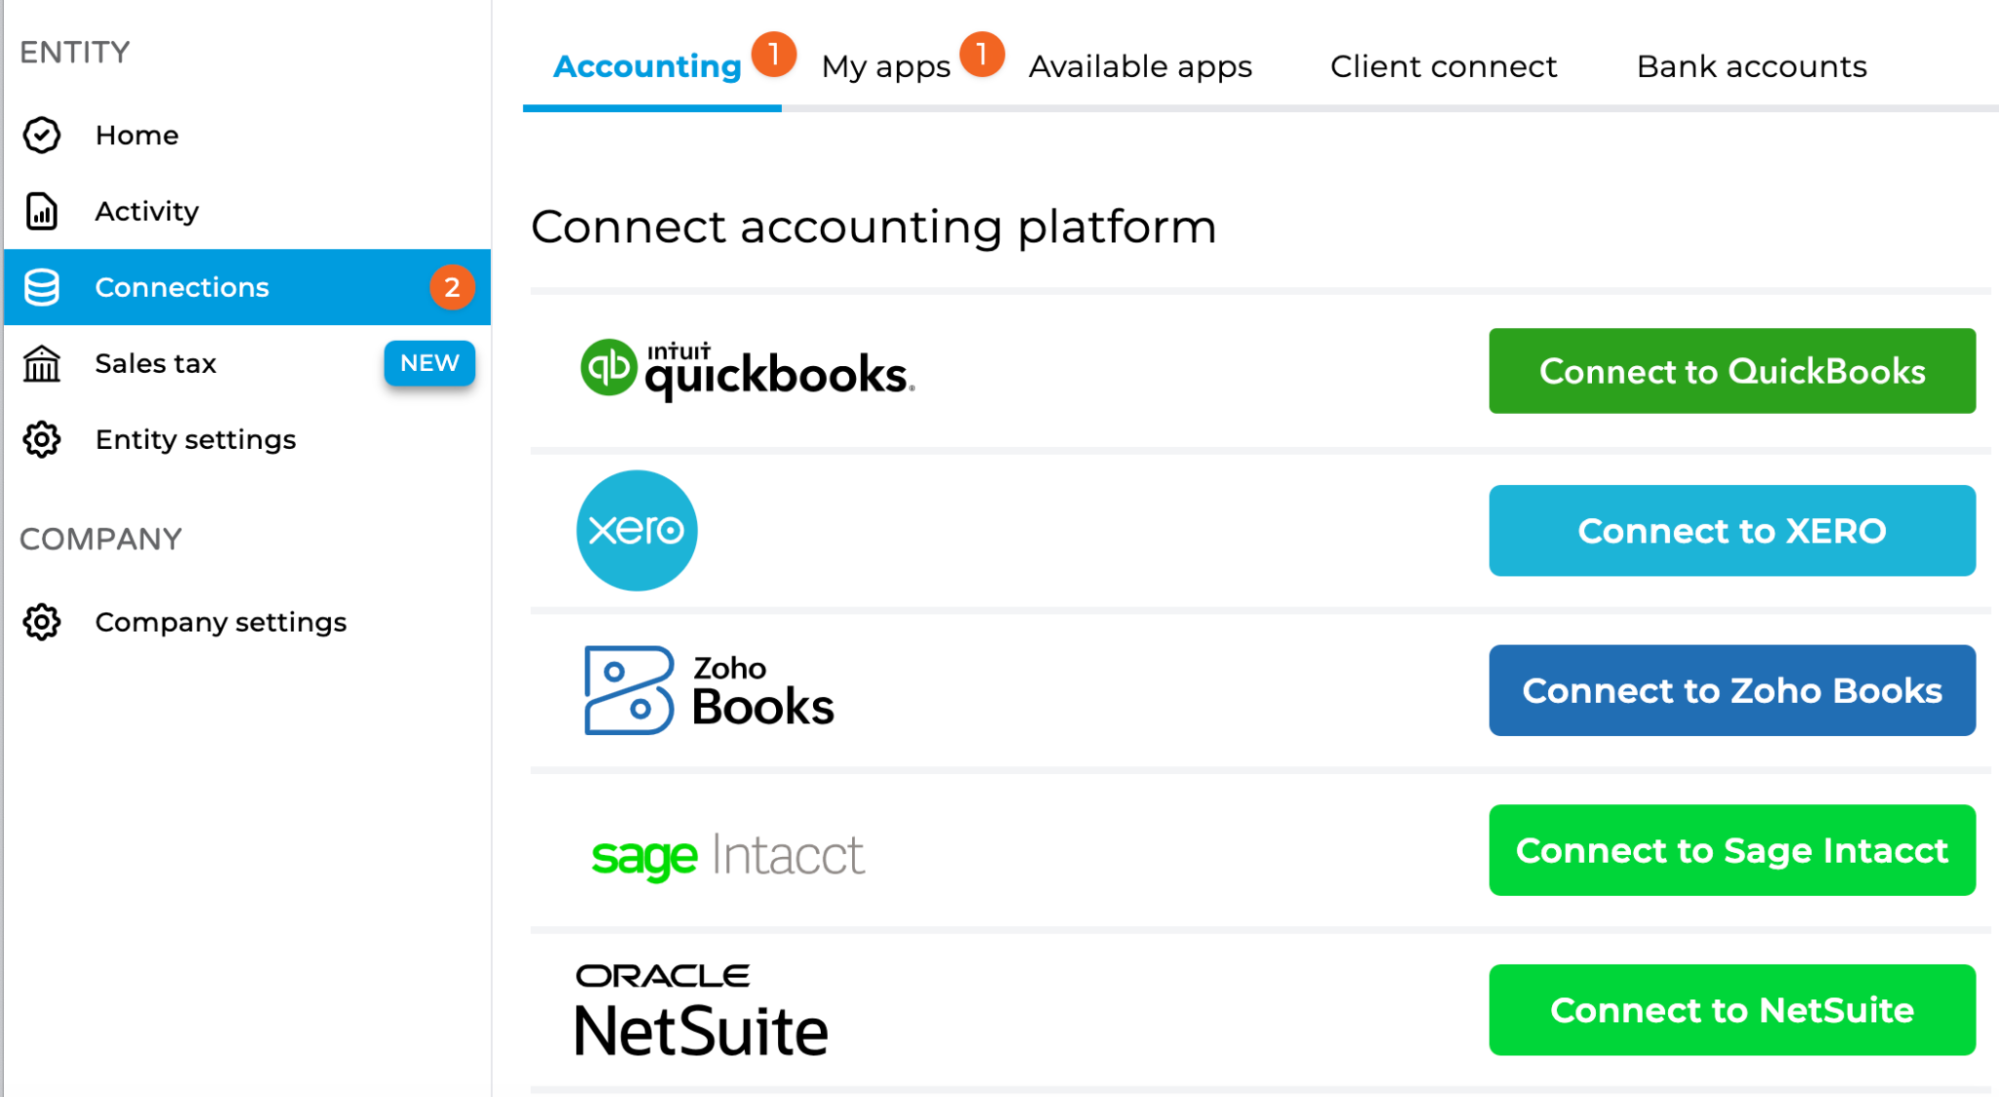
- You can complete the setup in Bookkeep by clicking “Connect to Sage Intacct” on the Accounting tab found on the Connections view as shown below:
Now you are ready to begin your chart of accounts mapping as well as connect your ecommerce and POS apps.
If you have any questions, please feel free to contact [email protected].