Bookkeep Sales Tax Setup
How Does the Bookkeep Sales Tax Service Work?
Bookkeep has partnered with DAVO by Avalara to fully automate sales tax from start to finish. DAVO uses data from Bookkeep to set sales tax funds aside daily in DAVO's secure holding account. DAVO then files and pays sales tax on your behalf when it's due.
For US entities, once we complete your one-time setup, the rest is taken care of. DAVO by Avalara completely automates sales tax -- from setting funds aside daily to filing and payment.
Below we will discuss the setup to allow you to automate your sales tax.
At this time, Bookkeep supports automated sales tax filing with DAVO for Shopify, Square, Toast, and Mindbody.
Activate Bookkeep Sales Tax
1. Find the "Sales Tax" link
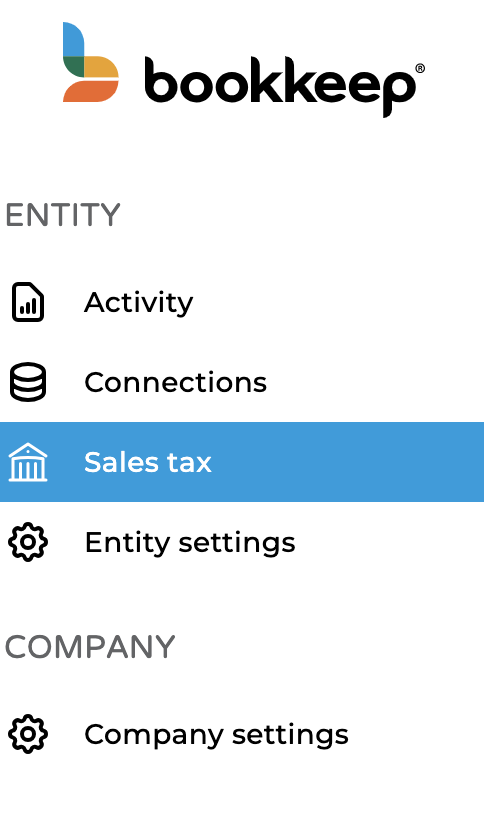
If you have any of the supported apps with DAVO, you will see a Sales tax link on the left navigation as shown below. Clicking on this will allow you to begin the self-service setup.
2. Click "Get Started"
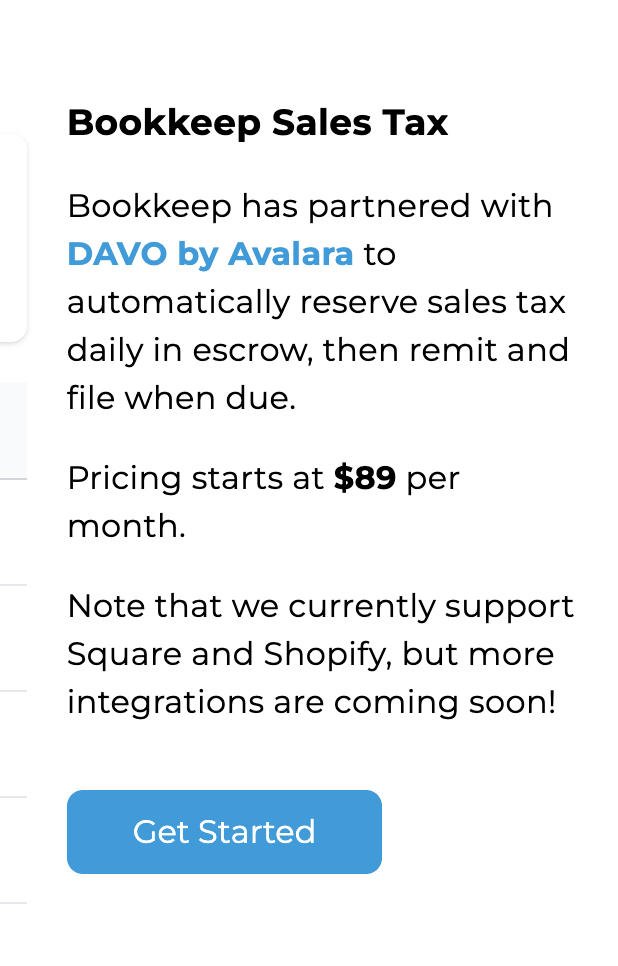
Once you have clicked on the "Sales Tax" link, you will see a view which contains sales tax reporting for your information as well as a section describing our service. As shown below, you can click "Get Started" to begin the setup process:
3. Enter Contact Info
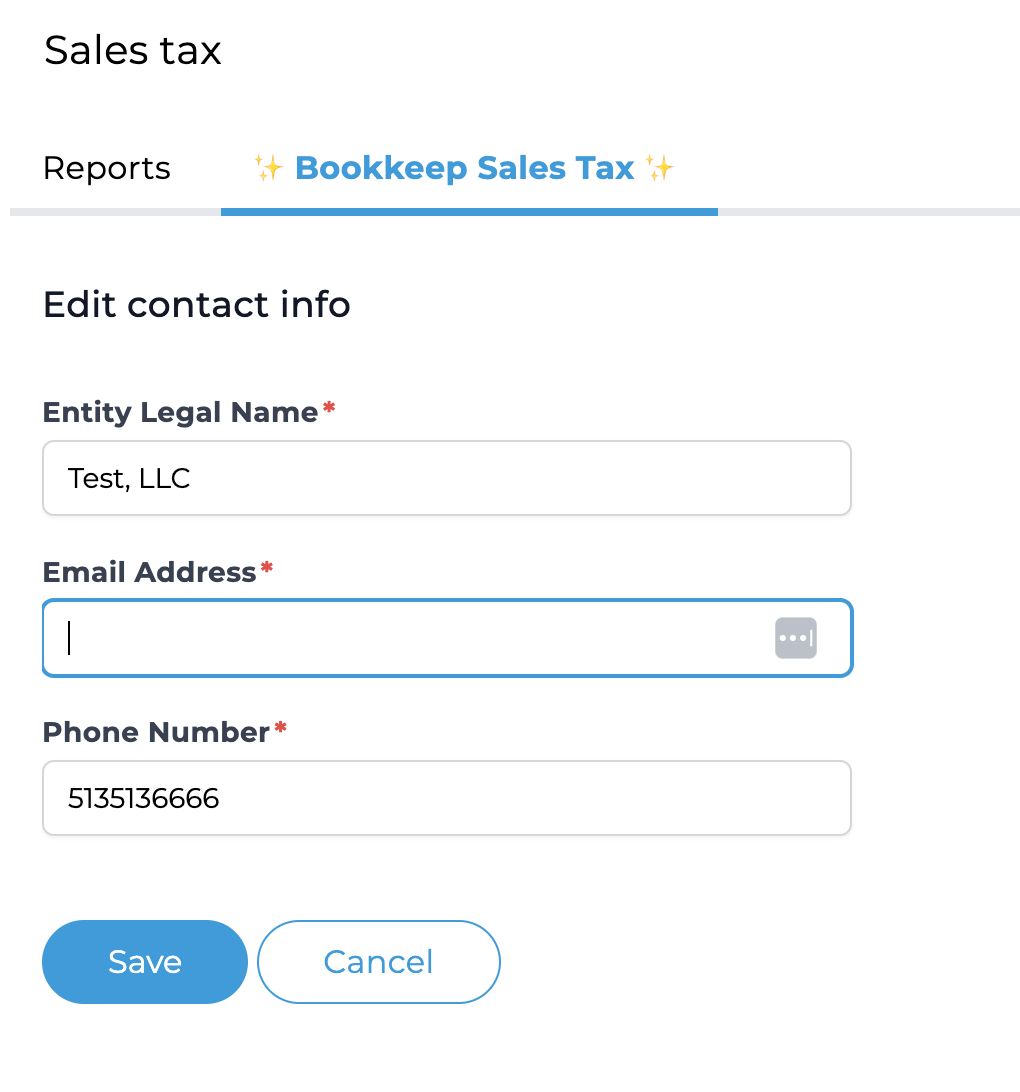
After clicking "Get Started," you will see the view below prompting you to add your contact info as well as the legal entity name. The email address you enter below will be used for the account with DAVO:
4. Add Sales Locations
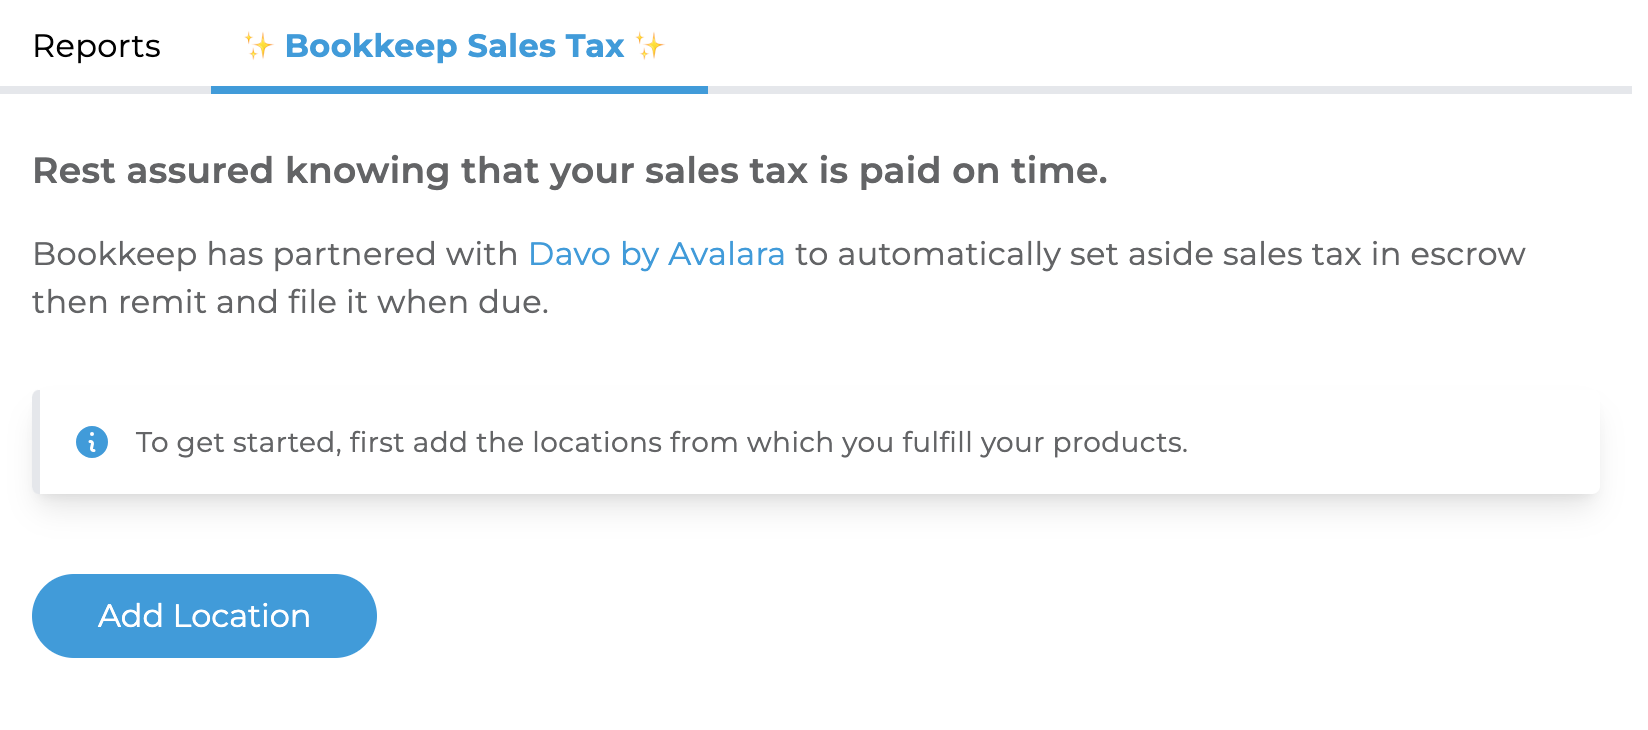
Once you have completed the initial form, you will be prompted to add your locations. You will need to add any respective sales location affiliated with the apps that you have connected to Bookkeep. For example, if you have a Shopify store connected to Bookkeep that is fulfilled out of one warehouse location, you would add this as your location linked to that Shopify store. To begin adding locations, click "Add Location" as shown below:
5. Enter Location Details
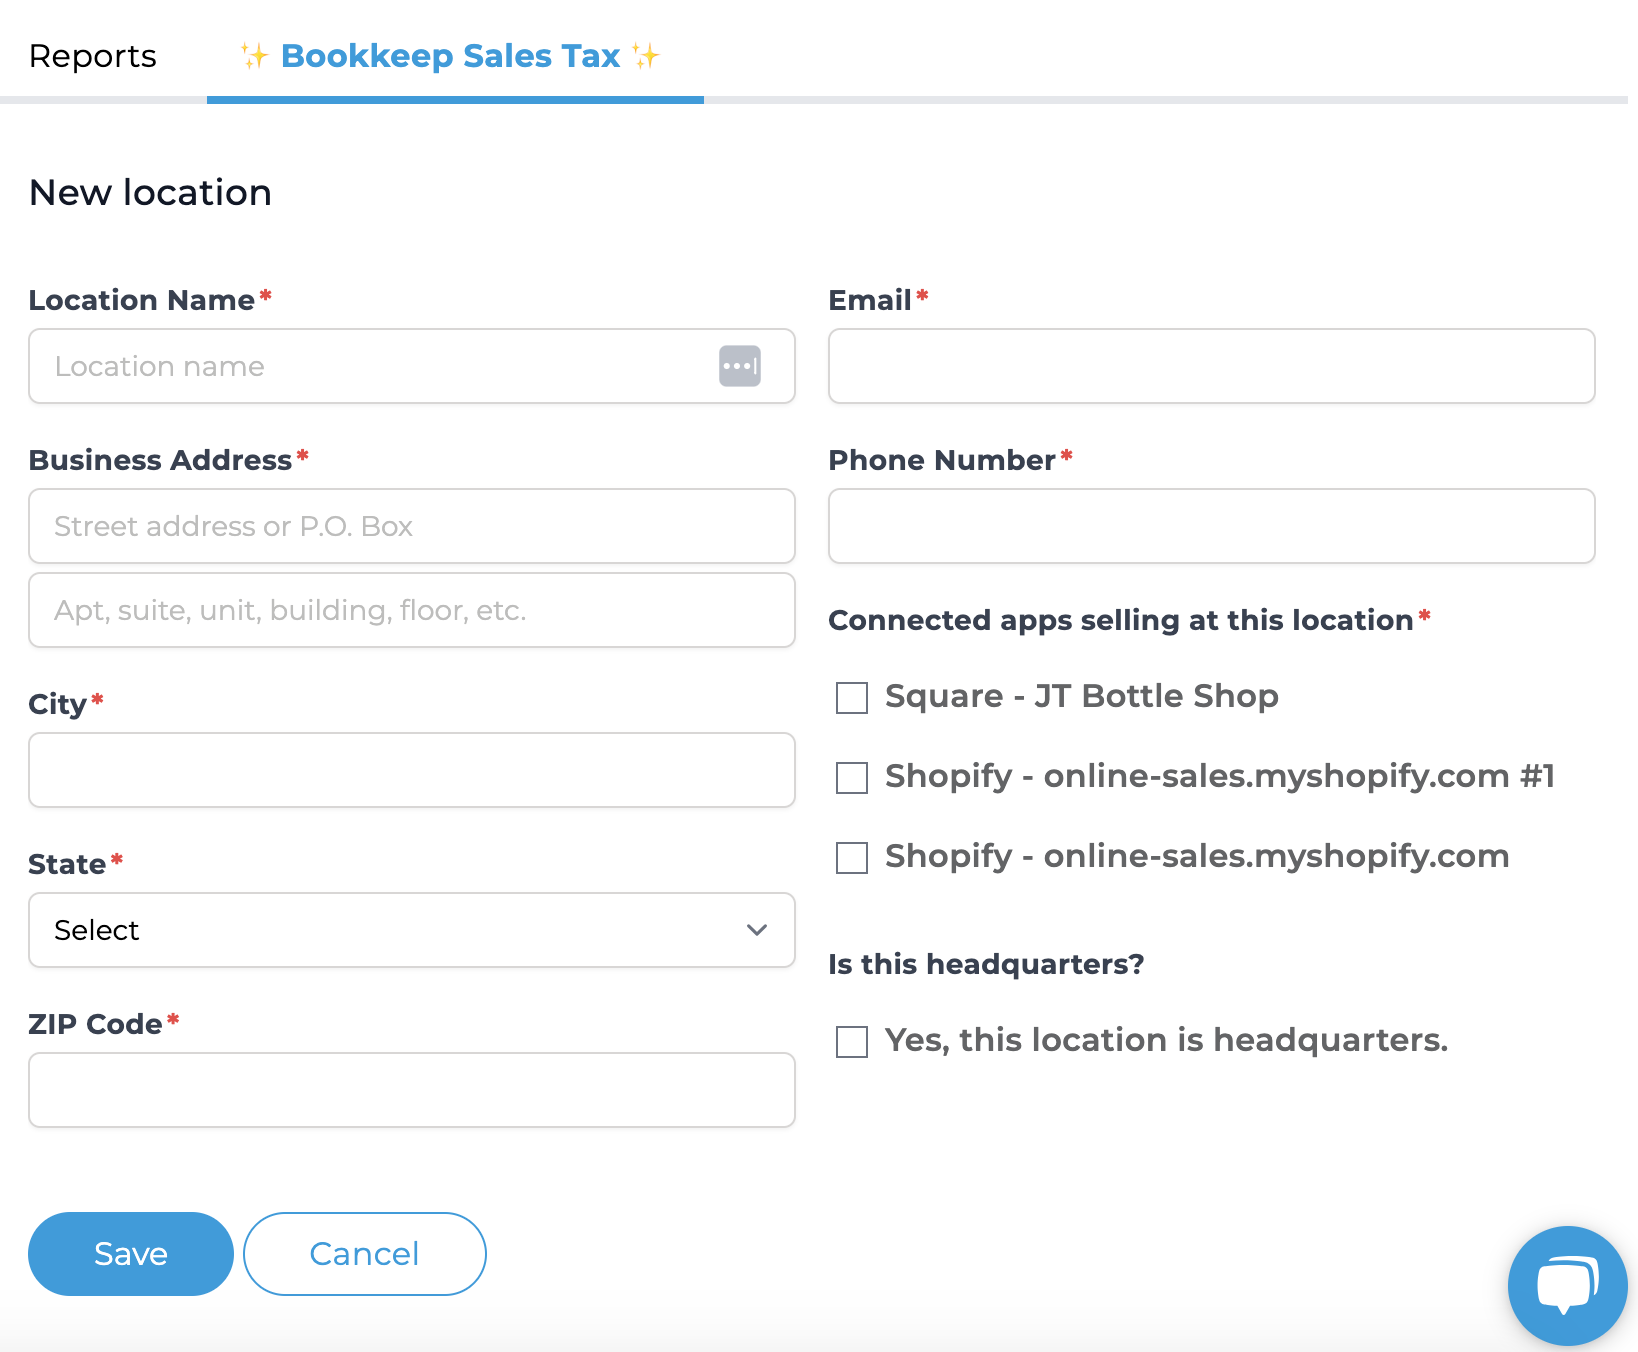
After clicking "Add Location," the following view will be visible to add specific details about each location. One thing to note below is the field Connected apps selling at this location. In the example below, if all three connected apps are sold and fulfilled out of this location, you would check all three checkboxes. Once you have completed adding a location, you can click "Save."
6. Connect DAVO
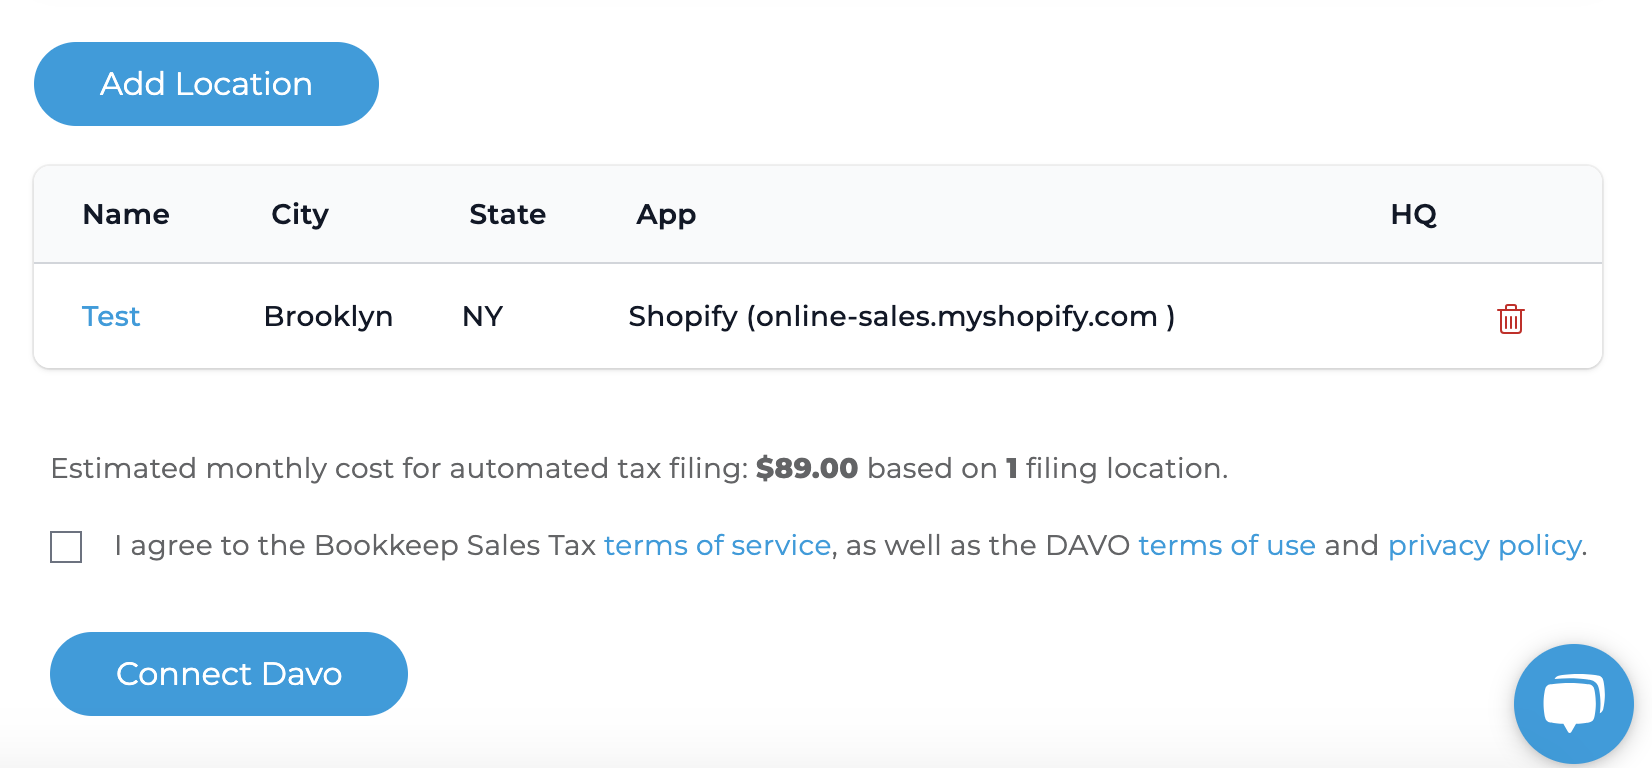
After saving a location, you will see it listed in your locations list as shown below. If you have additional locations, you can click "Add Location" as shown below. Otherwise, if you have added all of your locations, you can opt in the terms checkbox and click "Connect Davo" which will send you an email to allow you to complete the setup within Davo.
7. Complete setup in DAVO
Once you receive the email from DAVO (to the email address you entered when adding locations in Bookkeep), you will be prompted to complete the setup in DAVO.
A couple things to note for DAVO setup:
- You will need the bank account information which will be used for the daily withdrawal. DAVO initiates an ACH debit notice to your designated bank account for the amount of the sales tax you collect on a daily basis. These funds are then used to pay your State Taxation agency on your behalf.
- You will need the credentials for each state's sales tax account for which you are registered and file sales tax. This will allow DAVO to complete the filing on your behalf.
If you have any questions or trouble with setup in the DAVO dashboard, you can contact their support at [email protected].
8. Launch DAVO Dashboard
Once you have completed the setup in Bookkeep and DAVO, your sales tax filing and remittance will have been automated! From the Bookkeep sales tax view, you can click "Open DAVO Dashboard" as shown below which will launch the DAVO dashboard.

If you have any questions, please contact [email protected].