How to Manually Book Shopify Sales to QuickBooks
The hardest part about booking Shopify sales is finding all the reports you need, so let us walk you through where to get the data and how to book it into QuickBooks.
Booking Sales, Liabilities and Payments
Finding and Running Reports in Shopify
The report you will need for this is found in your Shopify dashboard under Analytics -> Reports -> Finance Report.

Alternatively, you can bookmark it at this URL after replacing YOURSTORE with your domain: https://YOURSTORE.myshopify.com/admin/finances
Bookkeep highly recommends booking sales on a daily basis and not monthly or weekly. Booking daily sales will alert you to problems and mistakes right away, but waiting to book until the end of the week or month could hide errors, and it may be too late to fix them. An example of that is booking sales to the "Manual" payment type and then not following up to ensure you collect payment.
Booking Your Sales in QuickBooks
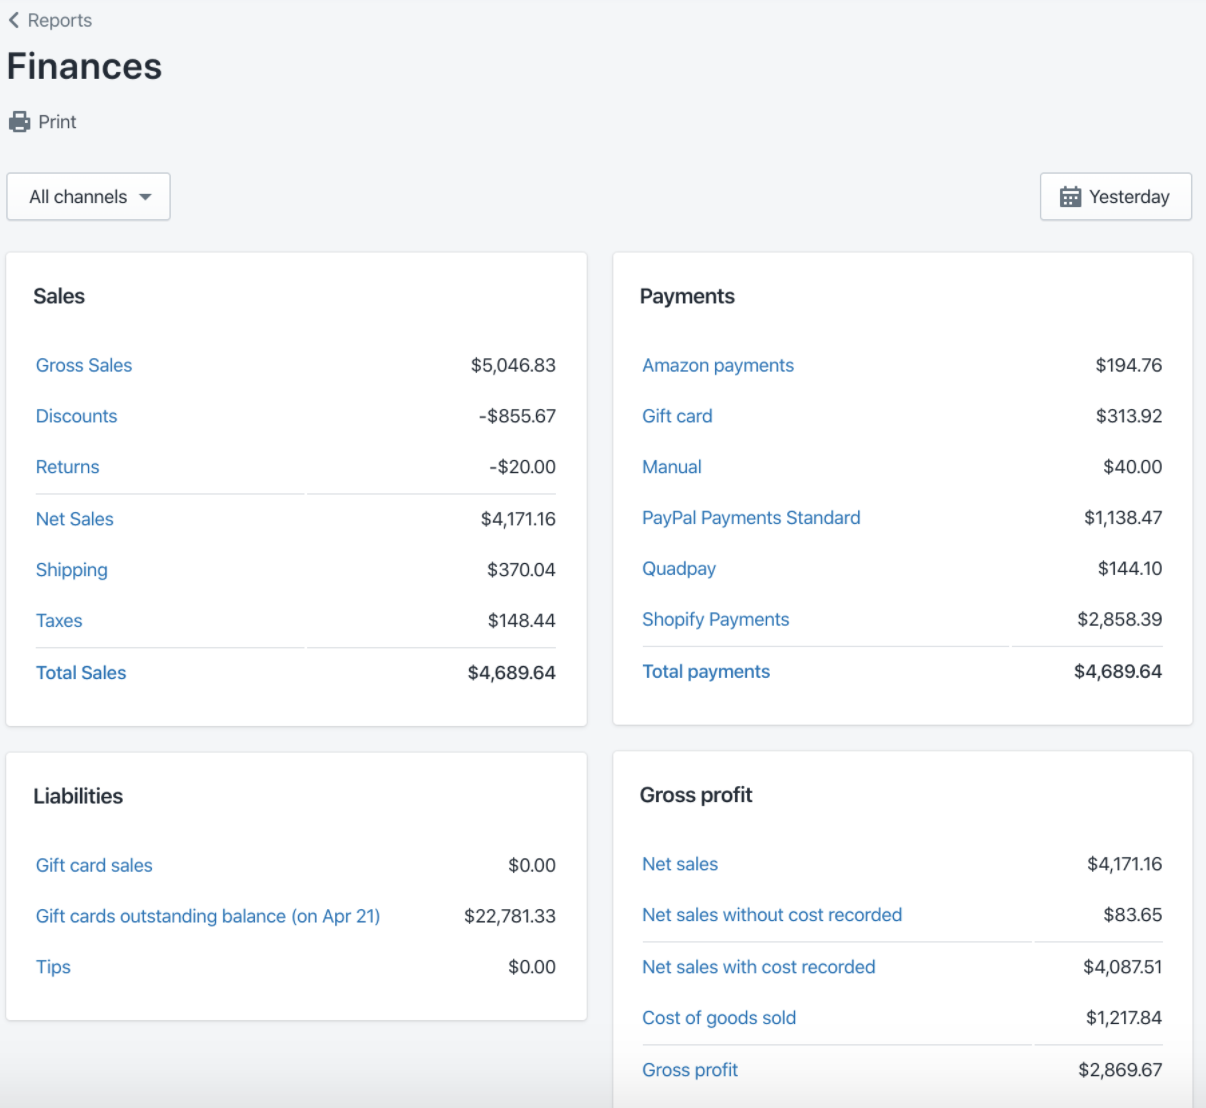
1. Run Finance Report in Shopify
Within Shopify, run the finance report for a single day, and it will look like this:
2. Create Recurring Journal Entry in QuickBooks
Head over to your QuickBooks to create a recurring Journal Entry.
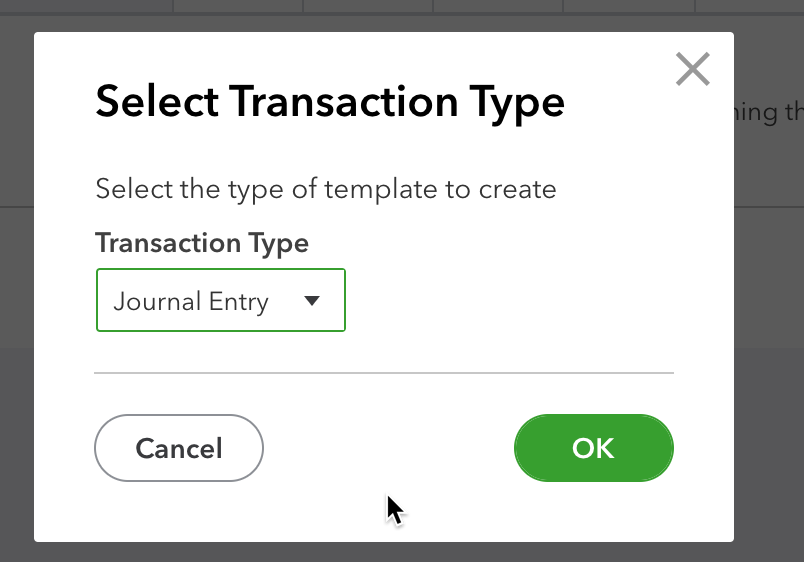
3. Create New Journal Entry
Click "NEW" and then choose Journal Entry like below:
4. Name and Set Template
Call your template "Shopify Sales" and set it to "Unscheduled".
5. Map Accounts
Set up your accounts to map to the report above. Assume you already have the accounts set up.
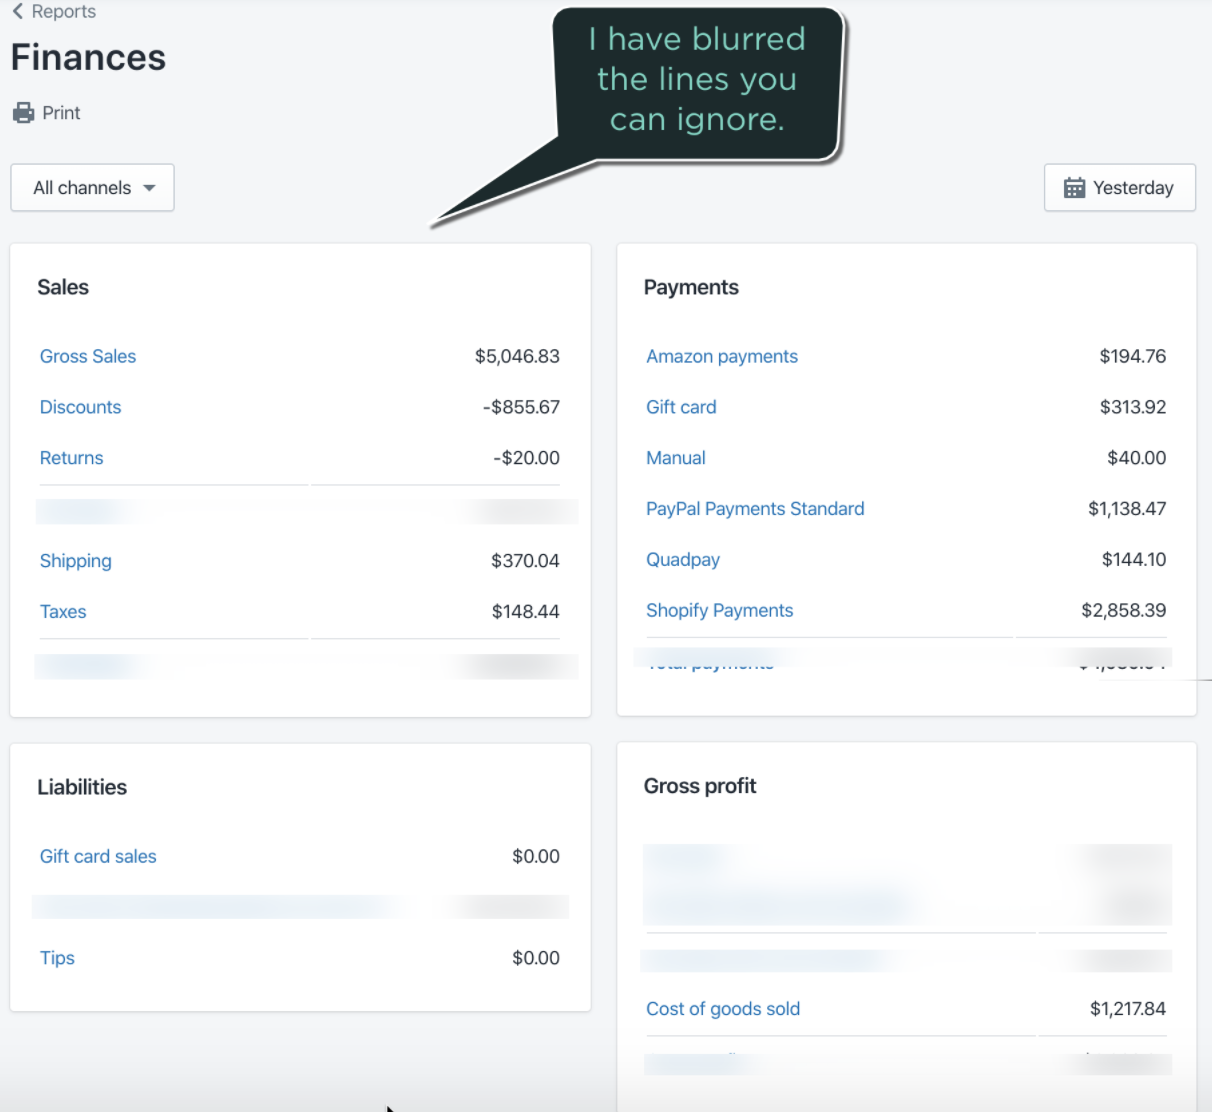
6. Select Report Lines
The only lines you will need on the finance report from Shopify are below (please note your Payments lines may vary based on your Shopify store):
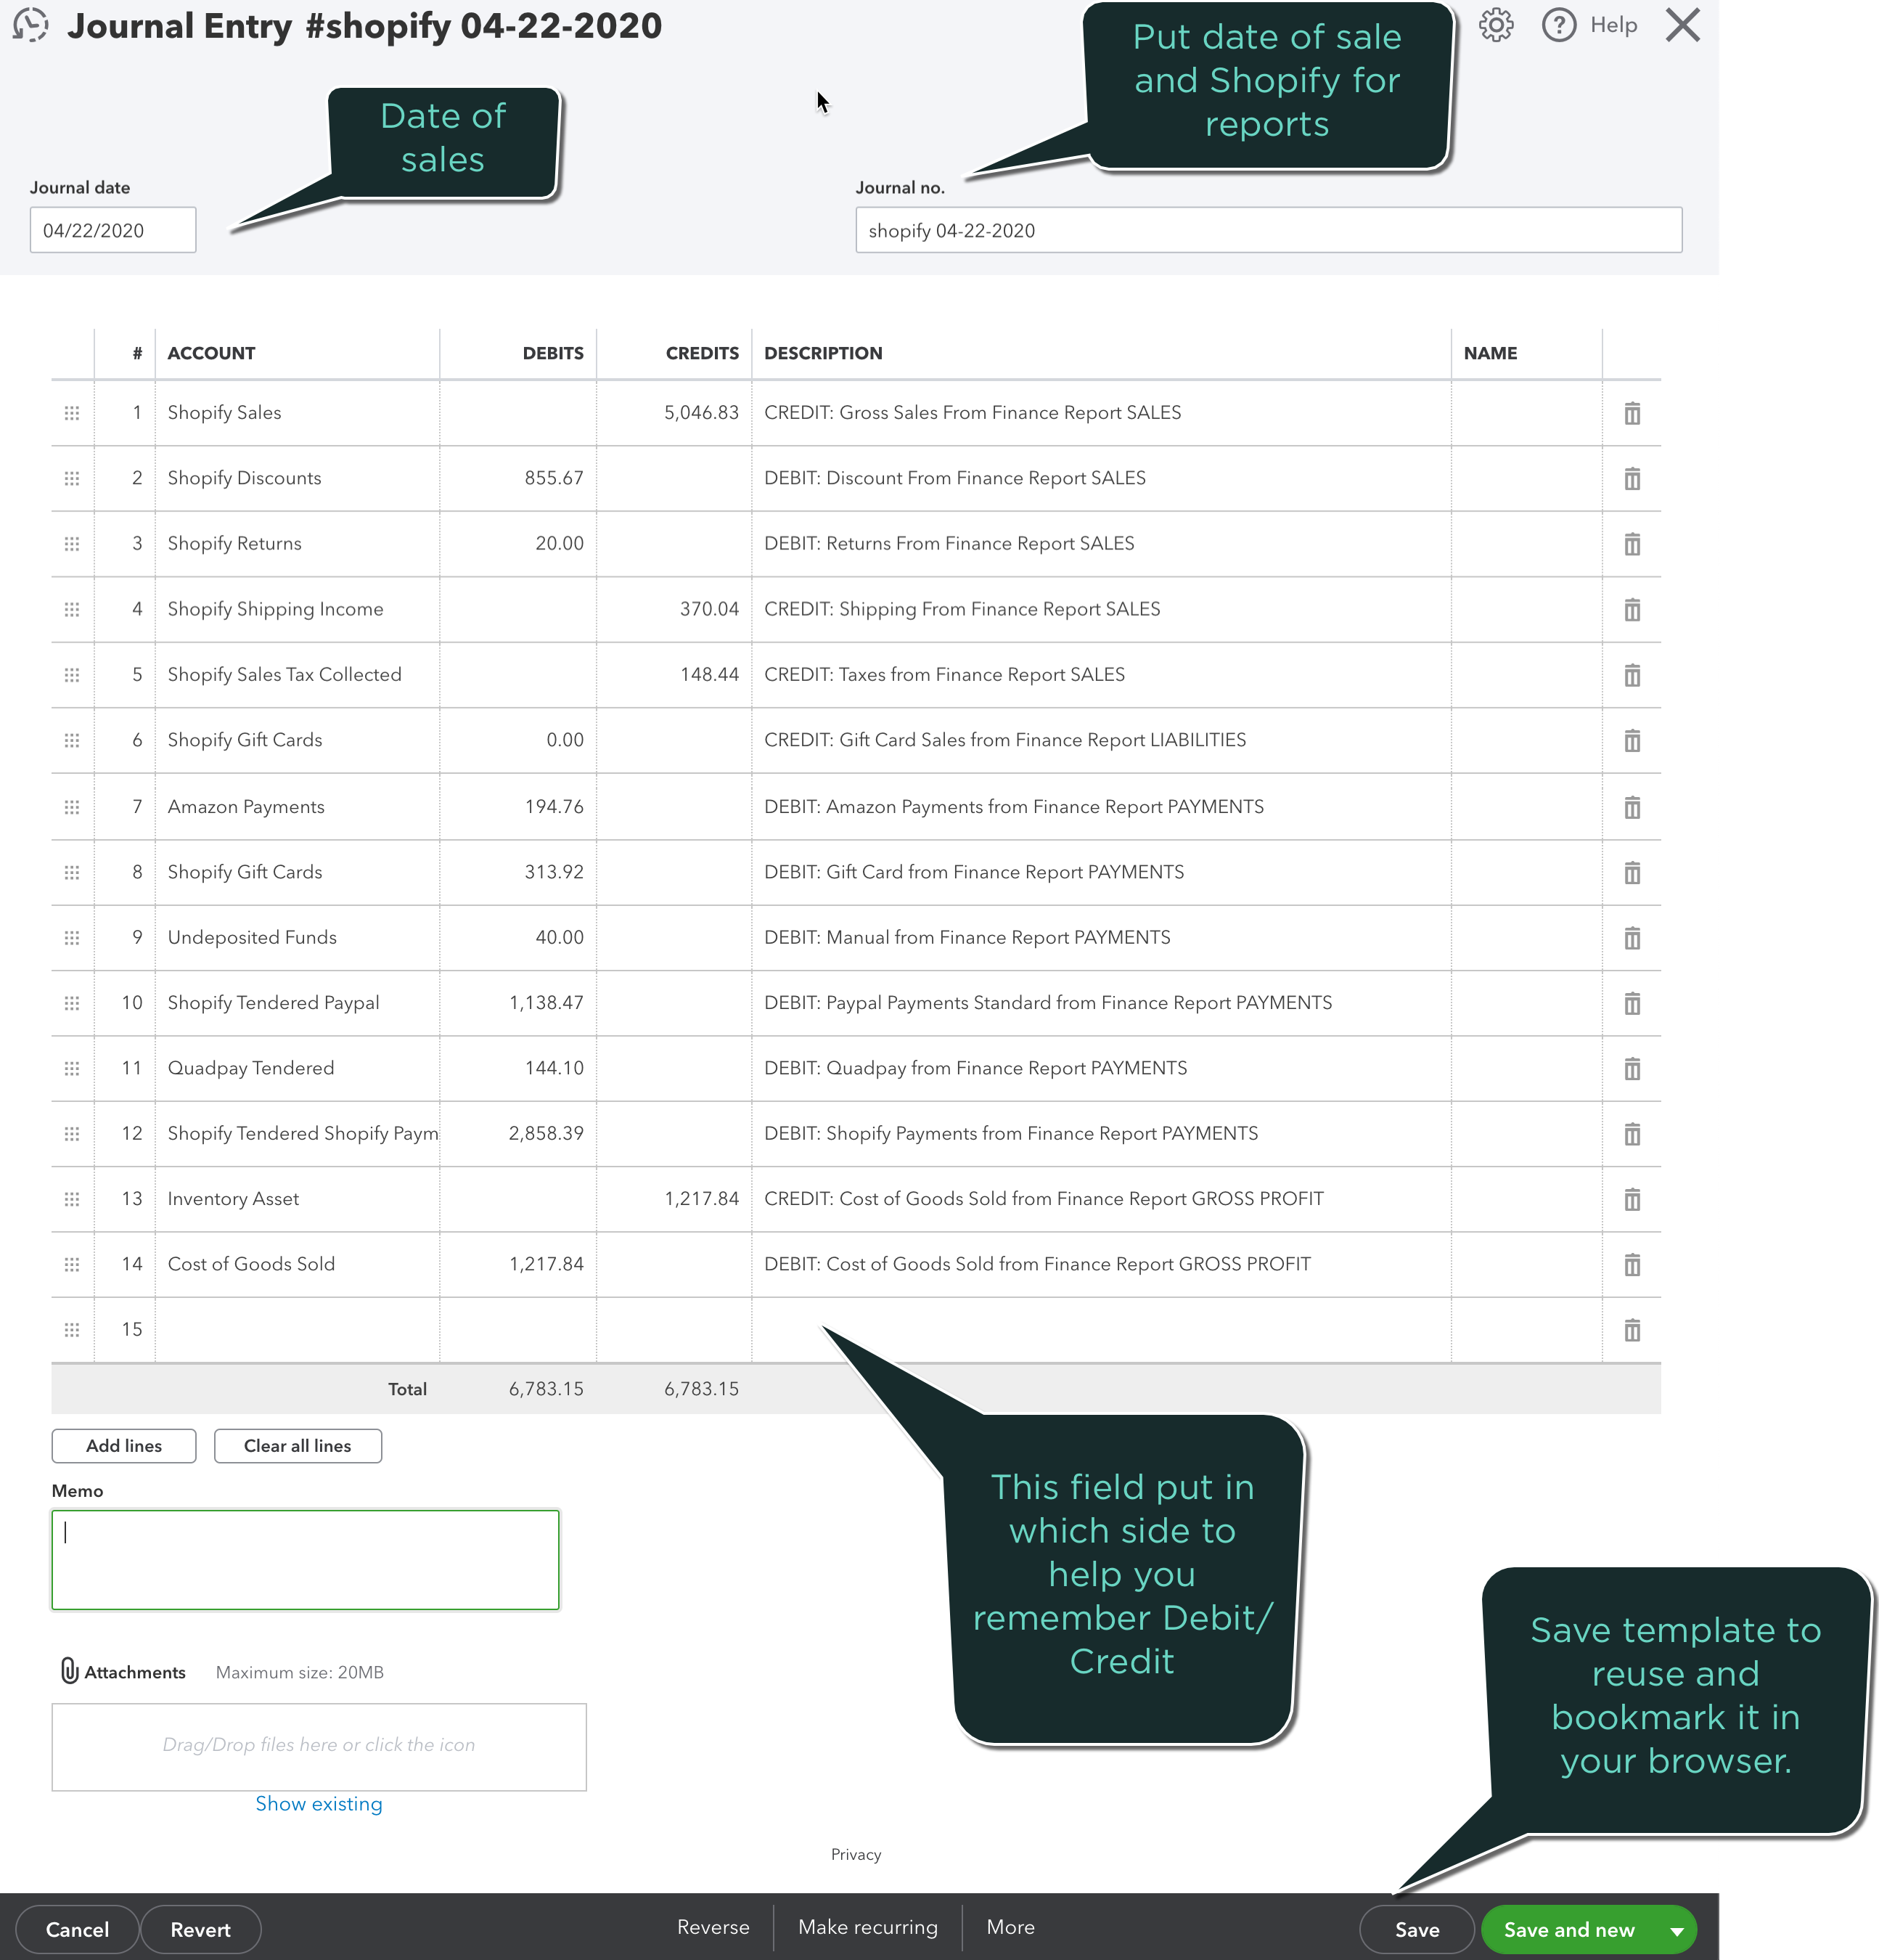
7. Create Template in QuickBooks
Create your template in QuickBooks to look like below (again, your Payment types will vary), and then you can save it for reuse. Bookmark it in your browser to help you find it quickly.
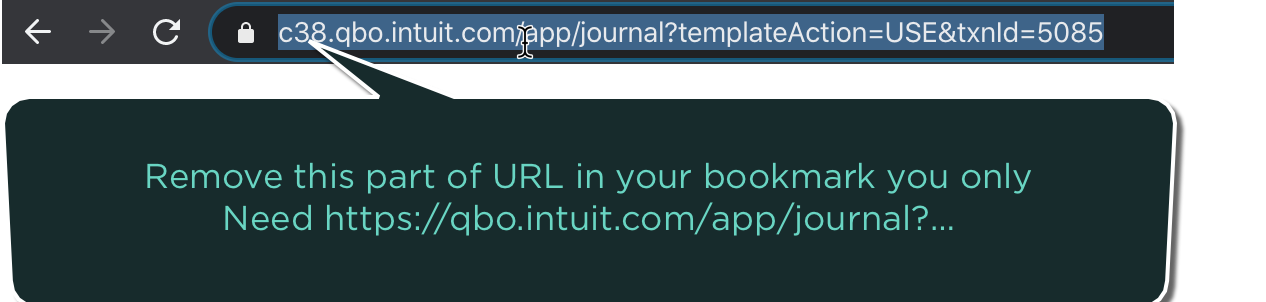
When you bookmark the template remove from the bookmark the part before the qbo in the url (e.g. below would involve removing the c38):
Booking Deposits To QuickBooks
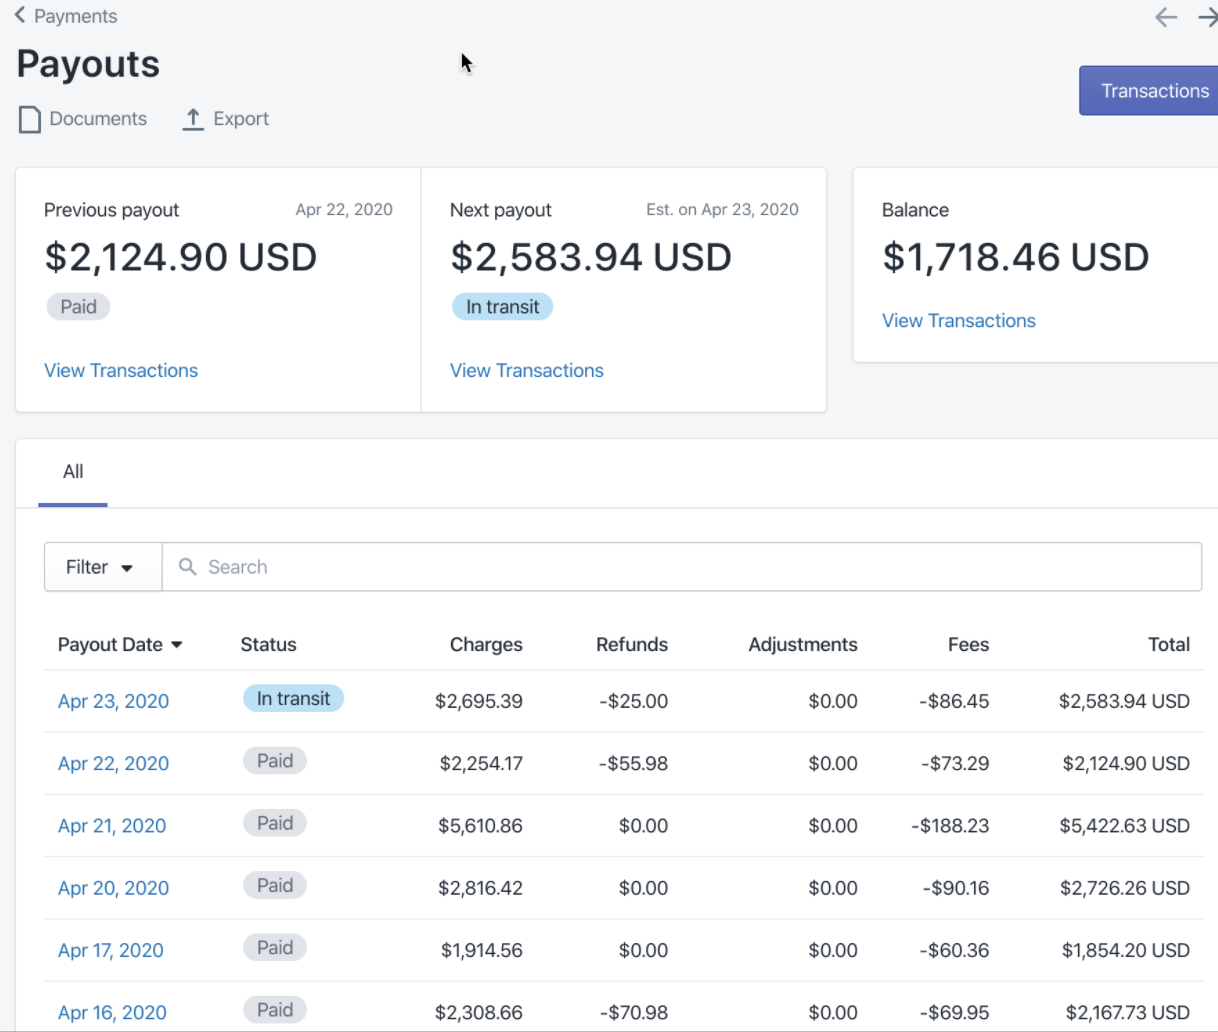
Remember, your deposits from Shopify Payments ARE NOT SALES! A deposit contains sales, tips, taxes, refunds removed, and fees removed. If you book them as sales, your books are totally incorrect. To find deposits, go to Settings -> Payment Providers -> View Payouts under Shopify Payments or just bookmark this URL.
Payouts must be booked for each day so that they MATCH in the banking feed in QuickBooks. Here is what the Payout view looks like:
1. Create New Template for Deposits
Create a new Template in QuickBooks under recurring transactions and use type Journal Entry.
2. Set Up Deposit Template:
The deposit template should look similar to this:

This is the most efficient way to manually enter your daily summaries from Shopify to QuickBooks. Show this to your bookkeeper or accountant so they can find the reports easily.
If you want daily summaries automated and reconciled each month, sign up for bookkeep.com and we'll do this for you with our guarantee that your entries will be entered each day.